Advanced Webhooks
Security
SSL Configuration
If you have enabled SSL configuration you will need to perform some additional configuration steps on each server that you intend to use as a listener.
Using netsh we need to add a ‘urlacl' and an 'sslcert’:
netsh http add urlacl url=https://<binding>:<port>/ user=Everyone
netsh http add sslcert ipport=0.0.0.0:<port> certhash=<yourcerthash> appid={d6abe73c-7e07-43da-9da3-c836e6182592}
In the next example, we are using the default host binding, port, and an example certificate thumbprint/hash:
netsh http add urlacl url=https://+:7847/ user=Everyone
netsh http add sslcert ipport=0.0.0.0:7847 certhash=2D2022046CB68BA4CC299B0813D716NOTREALB93 appid={d6abe73c-7e07-43da-9da3-c836e6182592}
The listener doesn’t have many requirements as far as the certificate goes. Effectively, we just need it to be permitted for ‘Server Authentication’. You will however need to consider the requirements of the system that will be utilizing the Webhook. For example, if it cannot communicate using an SHA-512 cert then you would not want to use that here. Similarly, if the certificate is not trusted by the calling system, do you have a way of overriding this check, or do you need to get a proper trust chain in place?
A PowerShell (ish) example using a self-signed certificate generated by New-SelfSignedCertificate:
$Cert = New-SelfSignedCertificate -DnsName 'hostname','hostname.fqdn.tld','loadbalanced.domain.tld','localhost' -CertStoreLocation 'cert:\LocalMachine\My' -FriendlyName 'Cookdown - Testing Cert'-TextExtension @("2.5.29.37={text}1.3.6.1.5.5.7.3.1")

netsh http add urlacl url=https://+:7847/ user=Everyone
netsh http add sslcert ipport=0.0.0.0:7847 certhash=$($Cert.Thumbprint) appid=`{d6abe73c-7e07-43da-9da3-c836e6182592`}
If you are using a self-signed certificate for testing with PowerShell you can temporarily override the certificate requirements with:
add-type @"
    using System.Net;
    using System.Security.Cryptography.X509Certificates;
    public class TrustAllCertsPolicy : ICertificatePolicy {
        public bool CheckValidationResult(
            ServicePoint srvPoint, X509Certificate certificate,
            WebRequest request, int certificateProblem) {
            return true;
        }
    }
"@

[System.Net.ServicePointManager]::CertificatePolicy = New-Object TrustAllCertsPolicy
If ([Net.ServicePointManager]::SecurityProtocol -notlike '*Tls12*'){[Net.ServicePointManager]::SecurityProtocol += [Net.SecurityProtocolType]::Tls12}
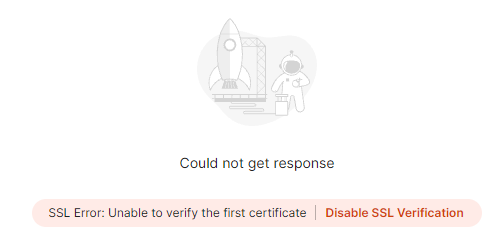
If you are using Postman you can ‘Disable SSL Verification’ after the first post:
Removing
To remove these again we can use the delete options from the same netsh commands:
netsh http delete urlacl url=https://+:7847/
netsh http delete sslcert ipport=0.0.0.0:7847
If you are not sure what is currently configured, you can look this up using the show options:
netsh http show urlacl
netsh http show sslcert
You can then remove the certificate if desired, and uncheck the 'Use SSL' setting from the global settings (or remove the listeners altogether).
API Keys
API keys are quick and easy ways of providing basic authorization to an API. This allows you to block anonymous calls and quickly revoke access should the need arise. You cannot use an API key to provide secure authorization, or for identification purposes.
In the case of Connection Center, we use a Run-As account and a Run-As profile to specify the key that we want to use. The same API key will be used across all webhooks running on a listener.

The API key is sent to our webhook using a query string, so typically we would recommend using this in conjunction with SSL to prevent this from being sniffed from Network traffic.
Configuration
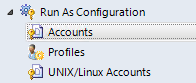
From ‘Administration’, expand ‘Run As Configuration', and select 'Accounts’
From the ‘Tasks’ Menu, select 'Create Run As Account…'
3. Proceed through the wizard until you reach 'General Properties'
4. Fill in the ‘Display name’ and 'Description' as you see fit
5. From ‘Run As account type:' select 'Simple Authentication’
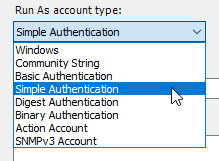
You can use almost any type of run as account that provides a password field, however, for simplicity we would recommend sticking to ‘Simple Authentication’ unless you have a specific reason not to.
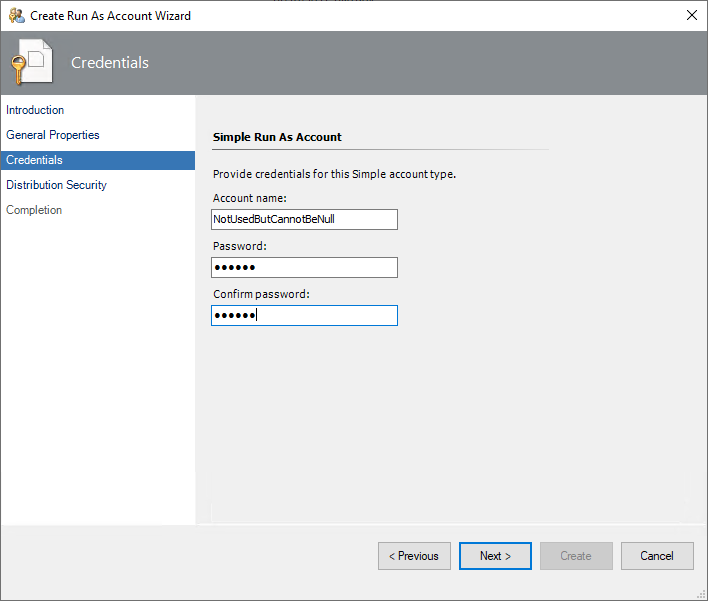
6. Fill in the ‘Account name’ with something that makes sense to you (this is not used by Cookdown)
7. Fill in the Password with the value that you wish to use for your API key.
The password field only supports a maximum of 256 characters
Special characters used here may need to be URL encoded later
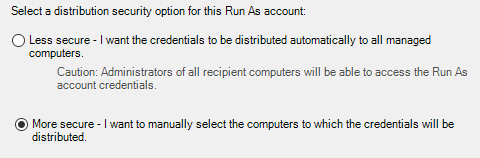
8. From 'Distribution Security' set the distribution as per your internal requirements
We recommend, and assume, that you are using the 'More Secure' model
9. Create the ‘Run As Account’
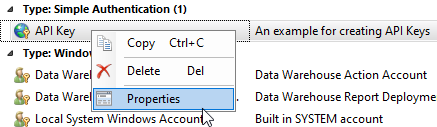
10. Right-click on the newly created Run As Account and select 'Properties'
11. From the ‘Distribution' tab select the 'Add…’ button
12. If you are using the default listener settings, add the 'All Management Servers Resource Pool', otherwise add resources as appropriate for your scenario
13. OK your way back out of the wizard
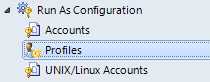
14. From ‘Run As Configuration', select 'Profiles’
15. From the list of profiles, find the 'Cookdown: Connection Center Listening API Key'
16. Right-click on this and select 'Properties'
17. Next your way through the wizard until you reach the 'Run As Accounts' page

18. Select the 'Add… button'
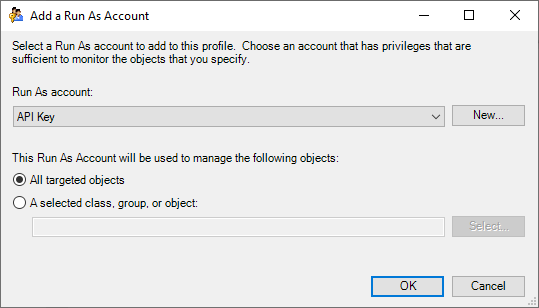
19. From the 'Add a Run As Account' wizard, select the Run As account you created earlier
20. Unless you have a specific reason not to, select 'All targeted objects' and press OK.
21. Finally, select Save to finish the process
Custom Configurations
Should you deselect the option to use all management servers, the discovery will still be created and written to the selected location, however, it will be created in the disabled state.
You should then be able to override and enable this discovery for specific management servers.