Configure Inbound Event Webhooks
If this is the first time creating a new connection after using the 'Add New Connection' Inbound Event action and selecting Inbound Webhook you may be shown the Global Settings wizard. Once this wizard has been completed you will be taken on to the Inbound Alert Webhook configuration wizard.
Webhook Endpoint
The Webhook Endpoint page defines how you connect to your Inbound Event Webhook
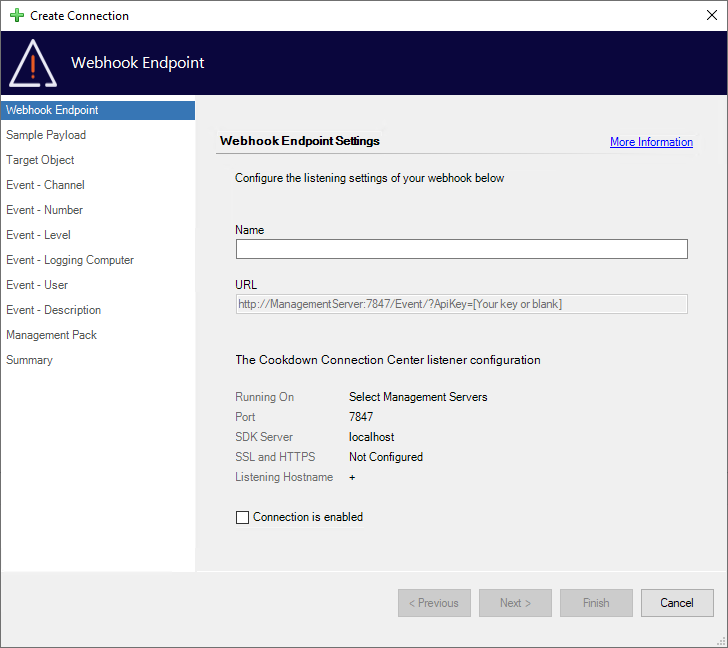
Name - A case sensitive name that is used in the URL and to differentiate connections
As this is used by the URL we do not support the use of special characters or spaces
Between 4 and 55 characters
URL - An approximation of the URL that will be used to connect to your webhook
The specifics of the URL used to connect to your webhook will depend on external factors such as DNS records.
The Cookdown Connection Center listener configuration - A reminder of your global settings
Connection is enabled - Whether or not you wish to create the connection in an enabled state
Defaults to False
Sample Payload
The sample payload page allows you to set the payload expectations for your webhooks:
If this is a new connection you will usually only have the ability to use the ‘Provide a sample payload' option to manually provide an expected payload. If you are modifying an existing connection, you may be able to 'Use the last received payload’ to use live details.
Lots of providers will give you sample JSON from their webhooks that you can easily copy and paste into the sample payload screen to give you content to work with. If you don’t have that available, you could create the connection using simple values, wait for a connection to be made, and then modify the connection to specification.
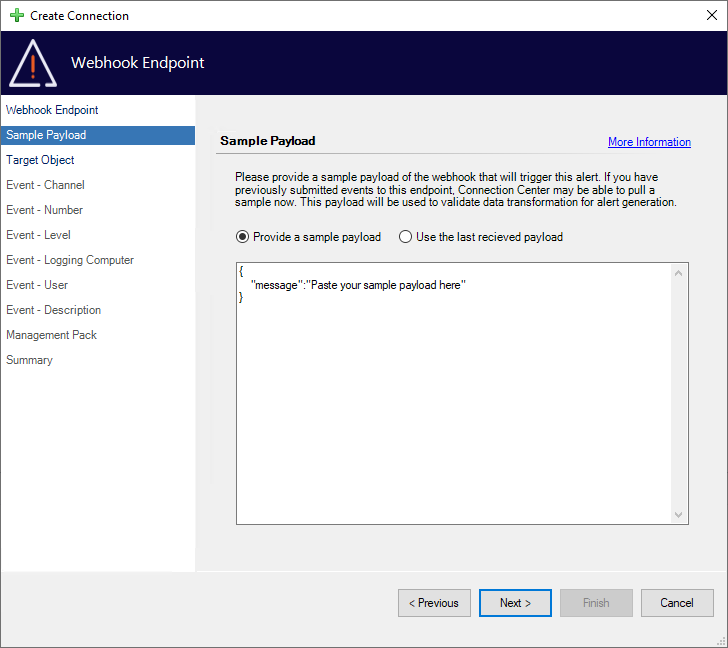
If you are re-using a recently removed connection name, you may see old payloads under 'Use the last received payload' when creating the connection.
Target Object
The 'Target Object' page provides you with the ability to configure how events are raised against objects in SCOM.
Raising the events against the webhook object itself is the default option and proves you with a good catchall solution for any scenario where you cannot (or do not want to) associate the events with a specific object in SCOM.
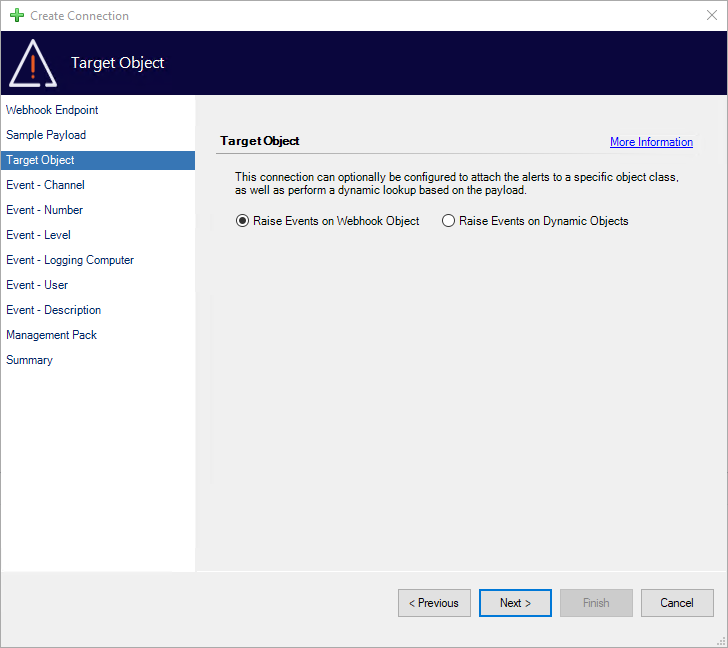
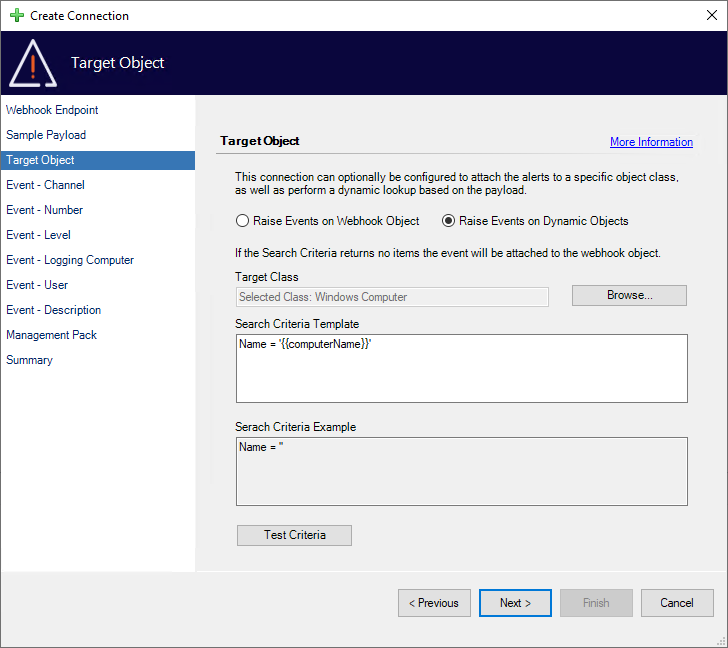
Selecting the ‘Raise Events on Dynamic Objects' option gives you the 'Search Criteria Template’ with which you can associate your events to a specific object.
Use the Browse button to pick a class to associate the query with.
Using the ‘Liquid Template Language’ you can pull in and manipulate the details from your webhook, then use them in SCOMs 'Criteria Expression Syntax’ to associate the event with.
Use the Test Criteria button to check your work!
If multiple objects are returned, the first one back will be picked to associate the event with.
If no objects are returned the event falls back on using the webhook object itself.
Event - Channel
The 'Event Channel' page allows you to set the channel that is used on your events.
The Channel field is limited to 255 characters by the underlying database.
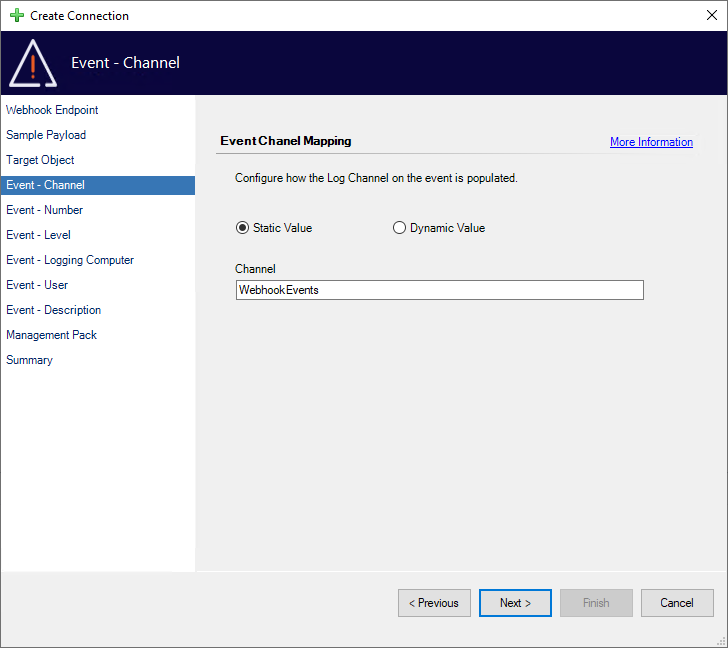
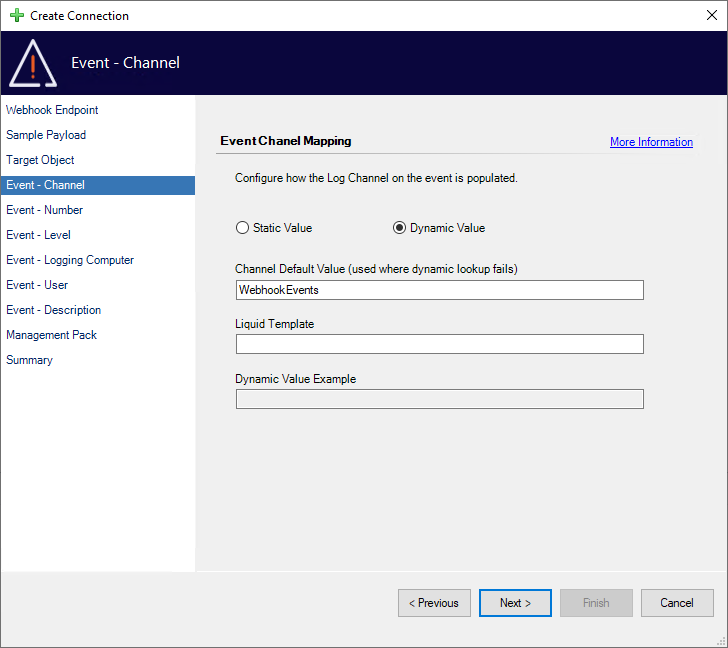
Selecting the 'Dynamic Value' option allows you to populate this dynamically using details pulled in from the webhook using the ‘Liquid Template Language’ for manipulation where required.
The field cannot accept a null value so where this occurs in a dynamic template it will be replaced with the default value.
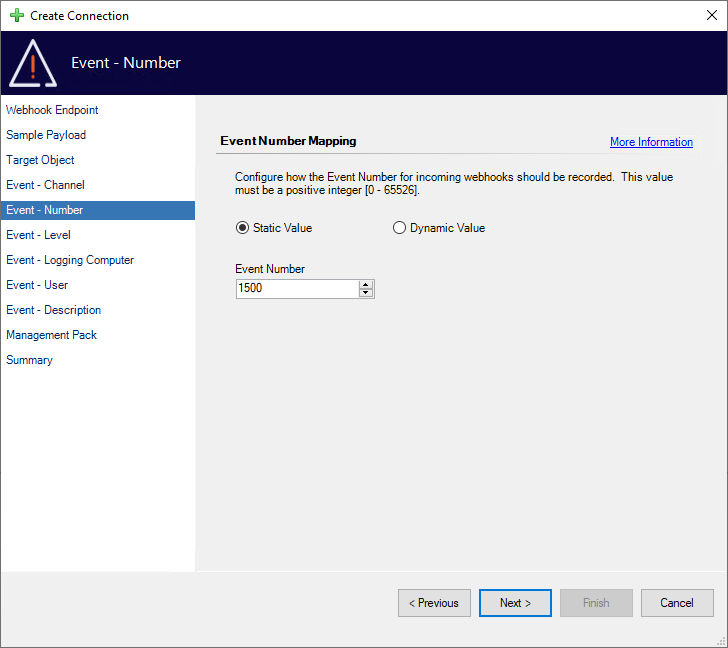
Event - Number
As you might expect, the 'Event Number' page allows you to set the event number that is used for your events.
This field is an integer and can be set from 0 to 65526.
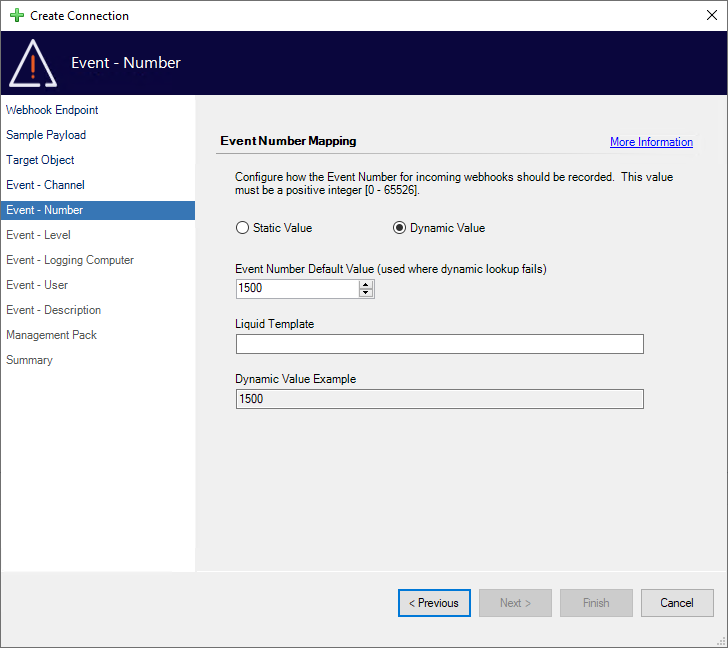
Should you wish to set this dynamically, the 'Dynamic Value' option has your back. This option allows you to manipulate the details pulled in from the webhook using the ‘Liquid Template Language’ for manipulation where required.
The field cannot accept a null value so where this occurs in a dynamic template (or if the type returned is incorrect) it will be replaced with the default value.
Event - Level
The 'Event Level' page is where you set the level of the event you wish to raise.
This is an integer, and though we’re not aware of any limits outside of this, it’s best practice to stick with one of the standard enumeration values.
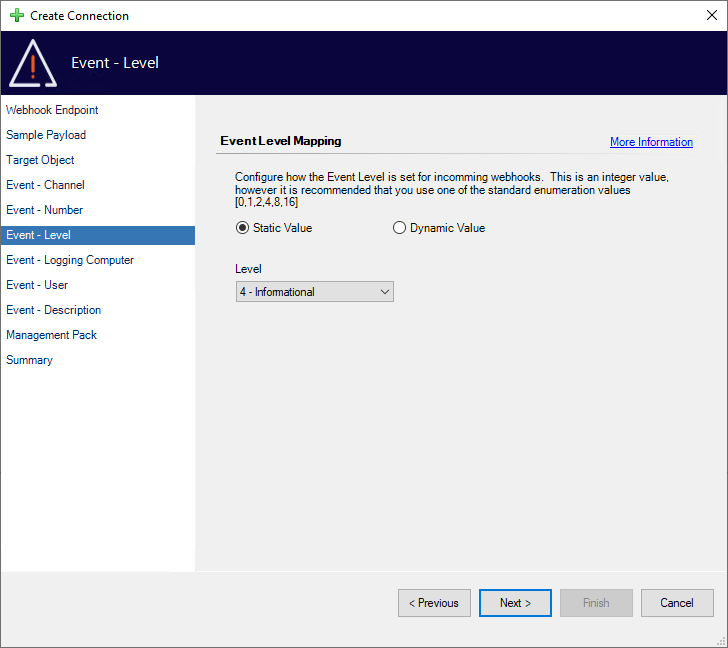

Like all of the other pages that support it, the 'Dynamic Value' option allows you to use the ‘Liquid Template Language’ to manipulate and pull in details from your webhook to use here.
The field cannot accept a null value so where this occurs in a dynamic template (or if the type returned is incorrect) it will be replaced with the default value.
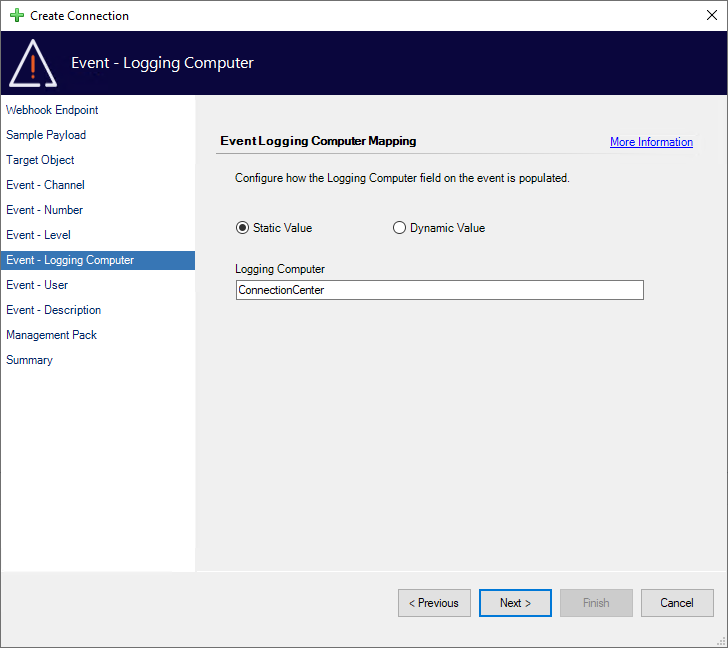
Event - Logging Computer
The 'Logging Computer' page is where you set the field of the same name.
This is a simple string value that can be set up to 400 characters in length and cannot be null.
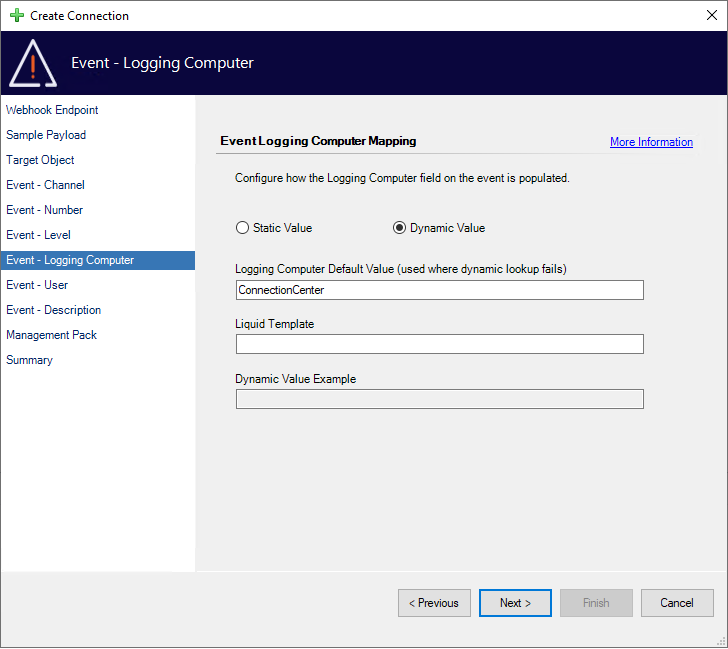
The 'Dynamic Value' option lets you manipulate the webhook data to fill in this property using the ‘Liquid Template Language’.
As the field cannot be null the default value will be used as a fallback should the Liquid fail to return anything.
The field itself is not limited to 400 chars until inserted to the database, allowing for some powerful Liquid Templates.
If the resulting data is longer than 400 chars when generated it will get truncated.
Event - User
The 'User' page is where you can set the User field for your event.
This is a simple string value that can be up to 255 characters in length and cannot be null.
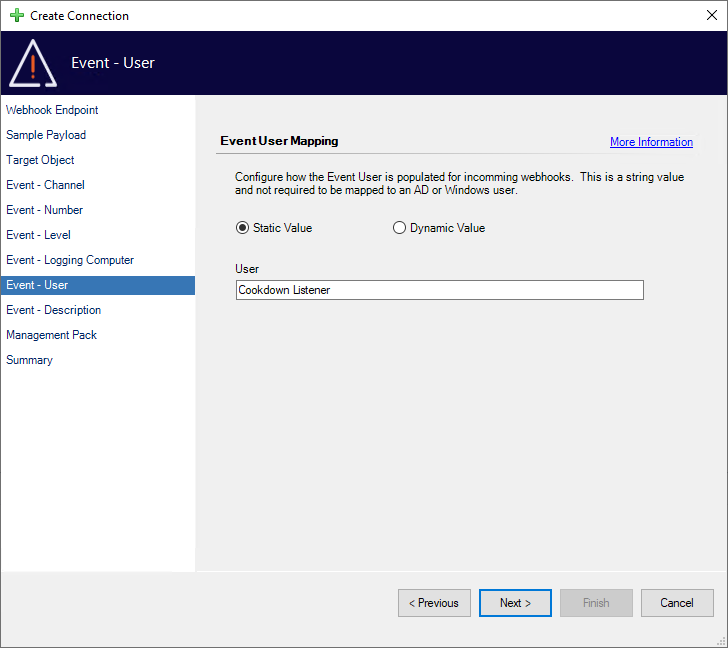
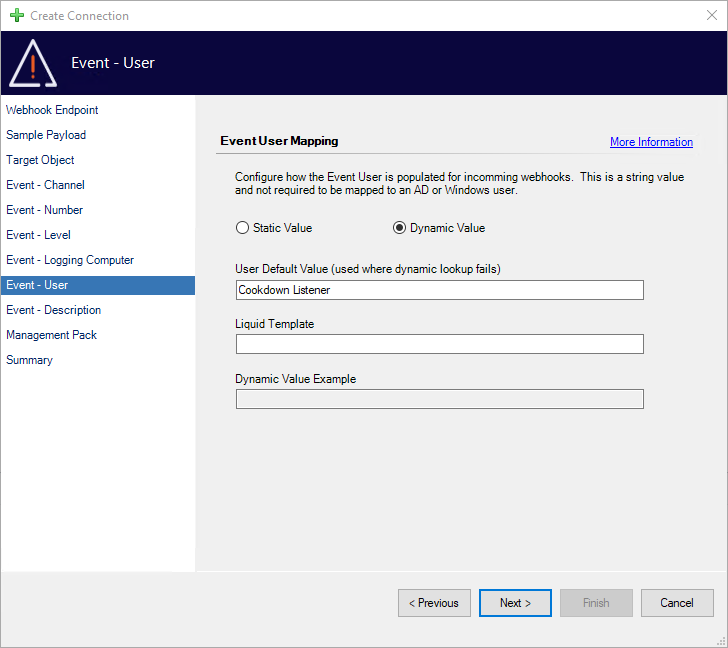
As usual, the 'Dynamic Value' option lets you pull in the required data from your webhook using the ‘Liquid Template Language’.
As the field cannot be null the default value will be used as a fallback should the Liquid fail to return anything.
The field itself is not limited to 255 chars until inserted to the database, allowing for some powerful Liquid Templates.
If the resulting data is longer than 255 chars when generated it will get truncated.
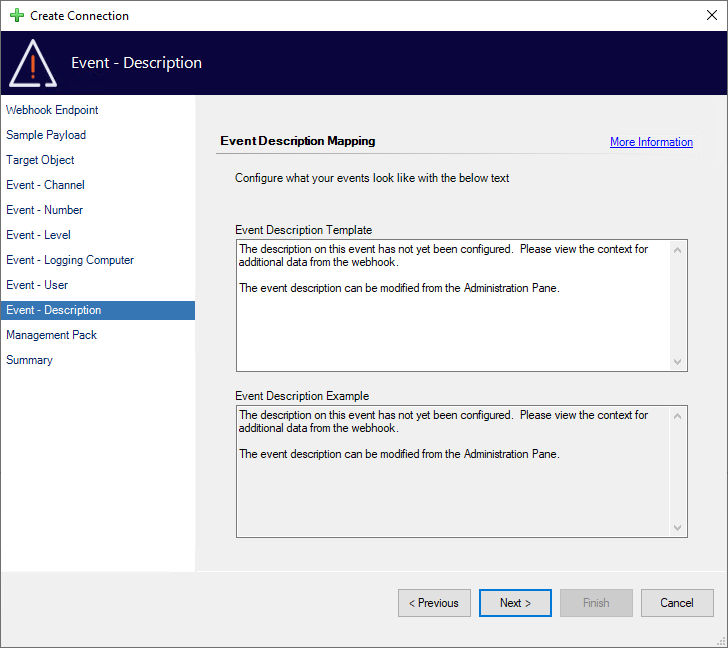
Event - Description
The ‘Event Description' provides you with the meat of your event, its description.
The ‘Event Description Template' is where you can really shine. Using the 'Liquid Template Language’ you can customize this description to make the best use of the data passed in via the webhook, allowing you to generate dynamic and truly useful descriptions from your ingested data on the fly.
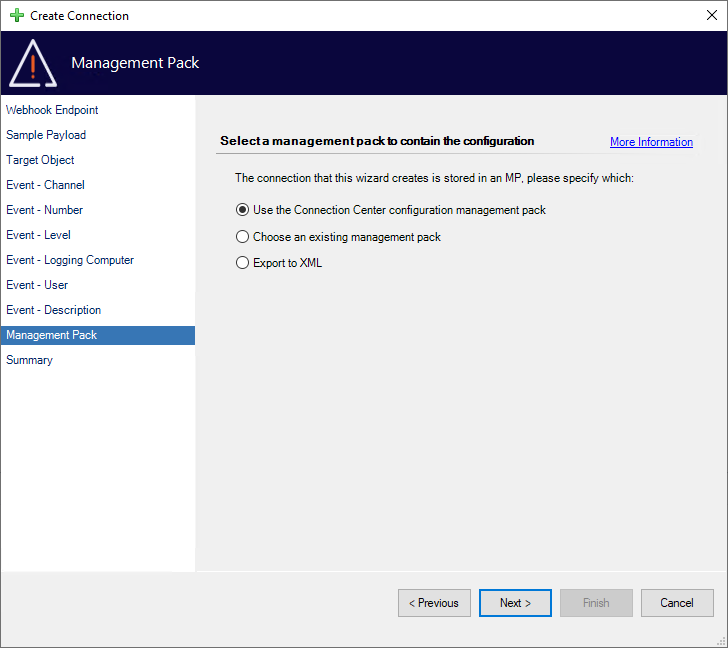
Management Pack
The Management Pack page allows you to select where your configuration will be stored.
By default, we store your configuration in a dedicated management pack. However, you are free to choose your own management pack (including creating a new one). You can also export the configuration to XML for use in change management processes or other reasons.
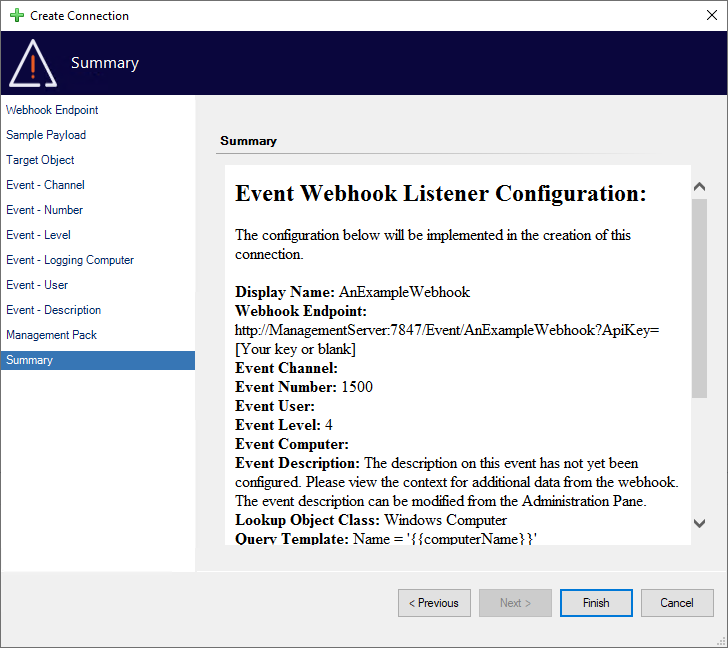
Summary
Finally, you will be brought to the summary screen where you can look over the configuration for a final time before finishing the wizard.
Should you wish to go back and change any part of your configuration, you can use the ‘Previous’ button or jump directly to the relevant page using the links on the left.
After You Finish and Further Reading
When you press the Finish button our wizard sets about putting your configuration in place. If the connection is enabled by default and not exported to XML the connection will set about publishing the webhook (which usually takes about 5 minutes). You can find further details about what to expect from this back on the main page here.
If you would like to learn more about templating please see the ‘Liquid Template Language’ and the 'Criteria Expression Syntax’ sections.
If you would like to learn more about securing your Webhooks please see the Advanced Webhooks page.