Configure Outbound Objects for ServiceNow
After using the ‘Add New Connection’ Outbound Objects action and selecting ServiceNow you will be shown the ServiceNow wizard which will take you through the process of configuring your connection. This connection will allow you to sync SCOM objects to your ServiceNow Configuration Management Database (CMDB) as Configuration Items (CIs).
ServiceNow Settings
The ServiceNow Settings page defines how you connect to your ServiceNow instance.
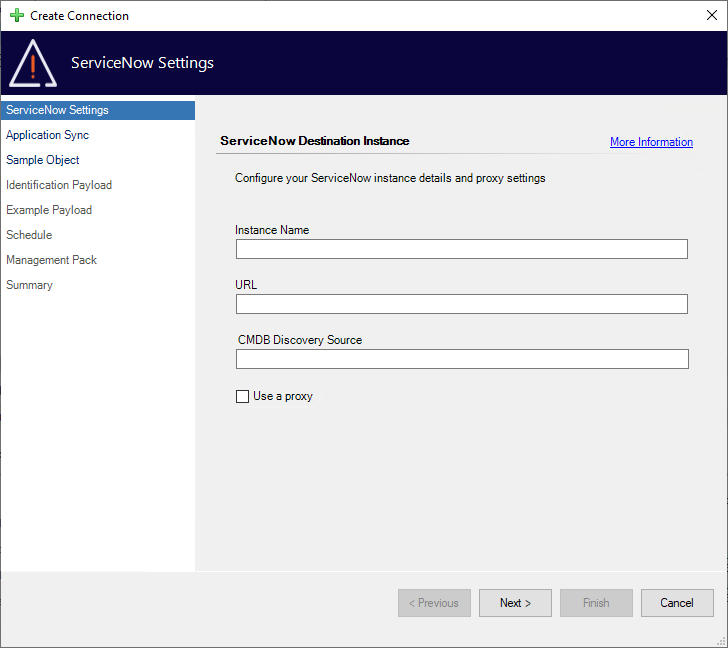
Instance Name - The name of your ServiceNow instance, usually found at the beginning of your URL.
For example from hxxps://instancename.service-now.com/ your instance name would be 'instancename'
URL - The base URL of your ServiceNow instance
This requires the trailing forward slash, for example:
hxxps://<instance>.service-now.com/
CMDB Discovery Source
Should match the Discovery Source configured when setting up ServiceNow exactly
Use a Proxy - Whether or not you wish to use a proxy
Defaults to False
Proxy URL - The actual URL used to connect to your proxy
We only support HTTP proxies
If your proxy requires authentication please see here for further details
Whenever you make changes to this page you will be asked if you wish to save the default configuration:
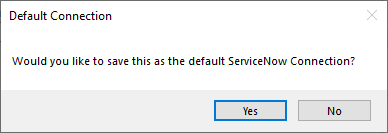
Typically you will make multiple connections to layer CMDB information, so unless you have multiple ServiceNow instances we would recommend accepting this prompt.
Application Sync
The Application Sync page defines if you would like to sync relationships to Distributed Applications or SquaredUp Enterprise Applications to ServiceNow ‘Services’. This is an optional task and typically would be implemented later on in the CMDB journey (if at all). For completeness, we will show you how to configure Application Sync (making the assumption that the required configuration in ServiceNow is in place) however this is considered an advanced topic.
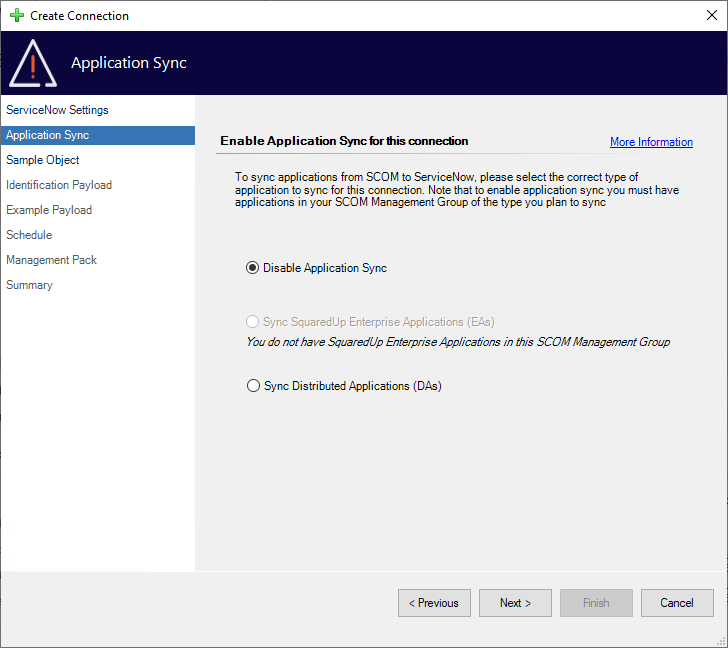

Disable Application Sync (Default)
The recommended option when beginning your Objects journey
Sync SquaredUp Enterprise Applications (EAs)
Requires a SquaredUp Enterprise Application Monitoring (EAM) object
Sync Distributed Applications (DAs)
Selecting either type of application (as shown with EAM in the second image above) will add additional pages to be configured later on in the wizard.
Enterprise Applications are inherited from Distributed applications. Selecting Distributed Applications when you have Enterprise Applications present may result in unexpected relationships.
Sample Object
Regardless of application sync configuration, you will need to provide a ‘Sample Object’ to provide example values for use in configuring your object connection.
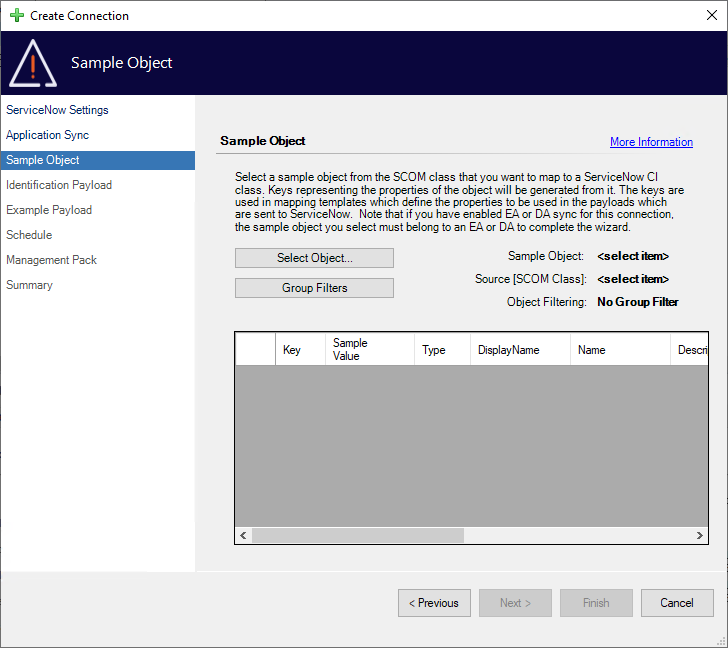
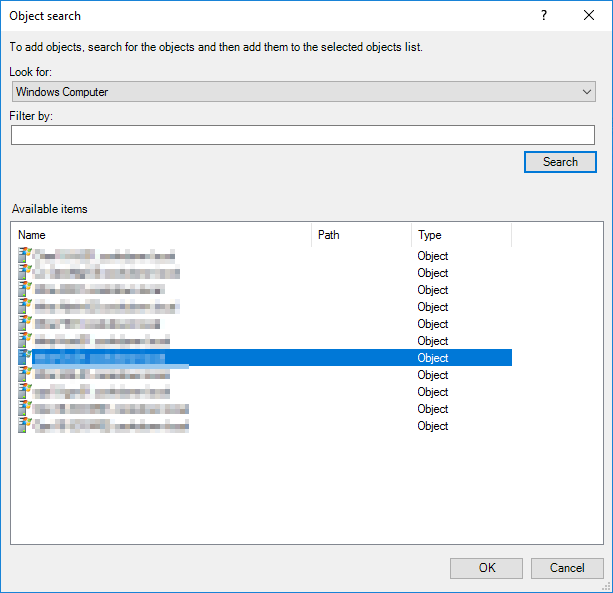
To start using this page, click the 'Select Object…' button to pick a class and a specific object.
If you are using Application Sync this object will need to be a member of the EA 'map' or contained within a DA and you will receive a notification if this is not the case. The specific EA or DA does not matter, these all have standard properties that will be used later in the process.
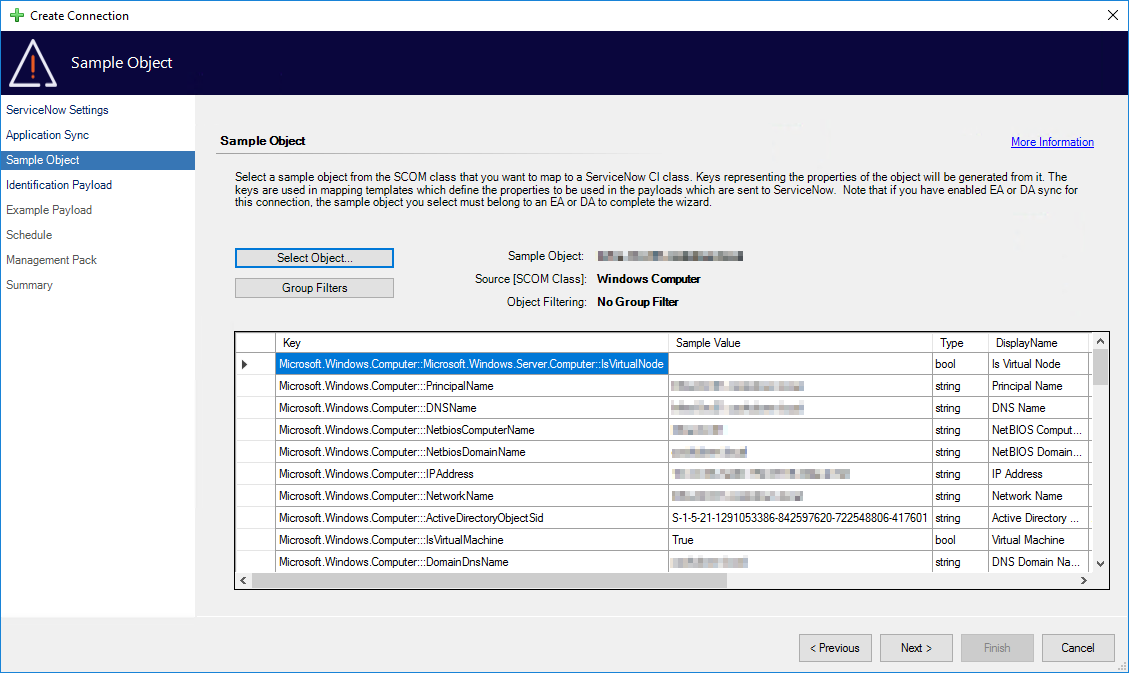
Once your object has been selected you will be shown a grid containing each object property. Any of these cells (including multiples) can be selected and copied.
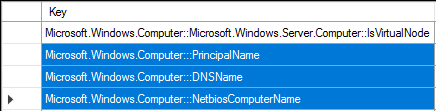
The keys are particularly important. These will be used in the payload to denote what needs to be replaced per object on the next page. Typically when developing custom payloads you will find yourself hopping backward and forward between this page and the next page (Identification Payload).
Group Filters
The group filters button can be used to include or exclude objects based on the membership of SCOM groups. This allows you to tailor your payloads to specific scenarios that you would not be able to model otherwise.
Taking Hyper-V for example. You may have clustered Hyper-V hosts and standalone hosts. Including the cluster relationship in your payload would cause the connection to fail when encountering standalone hosts. But not including the relationship leaves a key gap in the clustered case.
The solution is to either group your clustered servers, or your standalone servers (which could be done with a dynamic group) and then create a connection for each, including or excluding the group as required.

If the selected object is/is not a member of the group you will be presented with a warning to show this based on the scenario.


Identification Payload
The Identification Payload/Payload Template is how you define the transformation of your SCOM objects into ServiceNow CIs. This takes the form of a JSON template where keys are replaced with values. Assuming the JSON is valid you will be able to move onto the 'Example Payload' page to check your work.
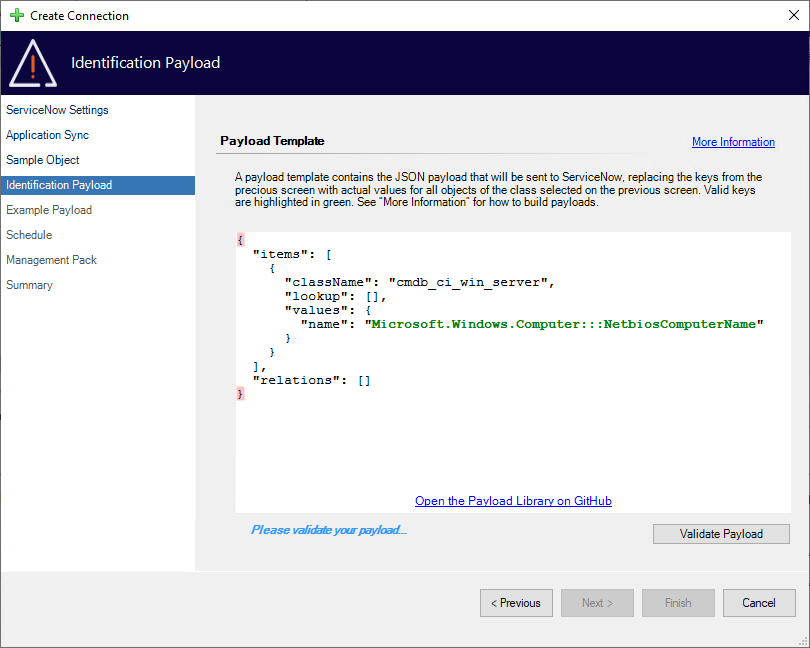
By default, you are provided with a very simple Windows Server payload as an example.
Open the Payload Library on Github
Takes you to a set of current example payloads
Validate Payload
Checks that the payload is well-formed JSON
Checks basic ServiceNow payload syntax
Must be selected before moving on
Validate payload checks that the structure is valid, but it will not check things like:
CI classes are valid
CI attributes are valid
Relationship types are valid
Spelling and grammar
There are additional methods of checking things like this that are covered on the next page.
Relation_ids are not supported and can cause relationship changes when using the ValidatePayload button.
Valid keys are highlighted in green. If the key contained in your payload is invalid it will be pushed to ServiceNow as a string. You can combine keys, use static values, or use a combination of both.
If an expected key is not highlighted you should check that it exists on the 'Previous' page. Any changes made to your payload are preserved and you can move backward and forward between the pages.
For example, you may find that the expected key is for a different class (such as Windows Computer vs Windows Operating system), or you may find that there is a typo in the key.
Creating payloads is an in-depth procedure and therefore considered an advanced topic. To begin with, we would recommend using one of the example payloads. When ready, you can read more about creating your own payloads here.
Once you have your payload complete and validated you will be able to continue on to the ‘Example Payload’ page to view the results.
Example Payload
The Example Payload screen shows you what the resulting transformation will look like using the selected object to populate the keys.

In this example, the NetBiosComputerName property has been used to replace the key on the previous screen.
On this screen, you should check that everything looks as you expect. The object connection will loop through each object generating payloads similar to the one you see here.
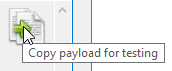
You will also see a button to the top right that allows you to 'Copy the payload for testing'.
This allows you to run your payload through other checks and balances.
For example, you may wish to run this through a spell checker, or you may also wish to run this through ServiceNow's Identification Simulation tool. We go into the latter process in more detail in the creating your own payloads page.
Optionally: Application Variables
If you’ve selected an Application Sync option you will have the option of creating an application payload. This process works virtually identically to the regular payload and will be used whenever we detect that an object is a member of one or more applications. Rather than asking you to select an example application, the wizard will select the first one it finds.
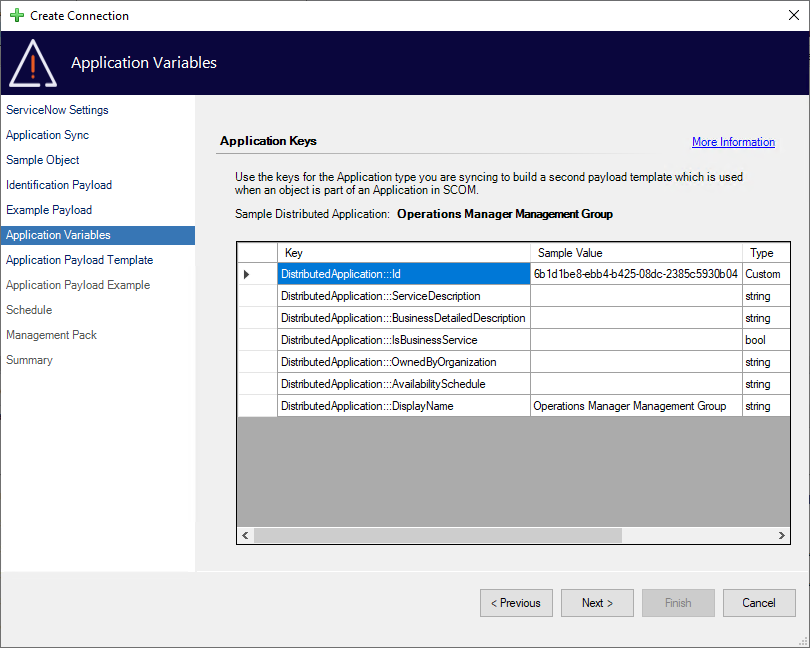
Like the 'Sample Object' page, you can select any or all of the cells and copy them for use later in the process.
Optionally: Application Payload Template
The next phase is to create the application payload template. This works in the same way as the object payload, except it gives you the opportunity to include a relationship to the application. Like the object template, object keys are highlighted in green, however, you can now add application keys (which will be highlighted in blue).
If application sync is enabled, this template is used instead of the object payload when the object is a member of an application. You should include any object details required for your CI.
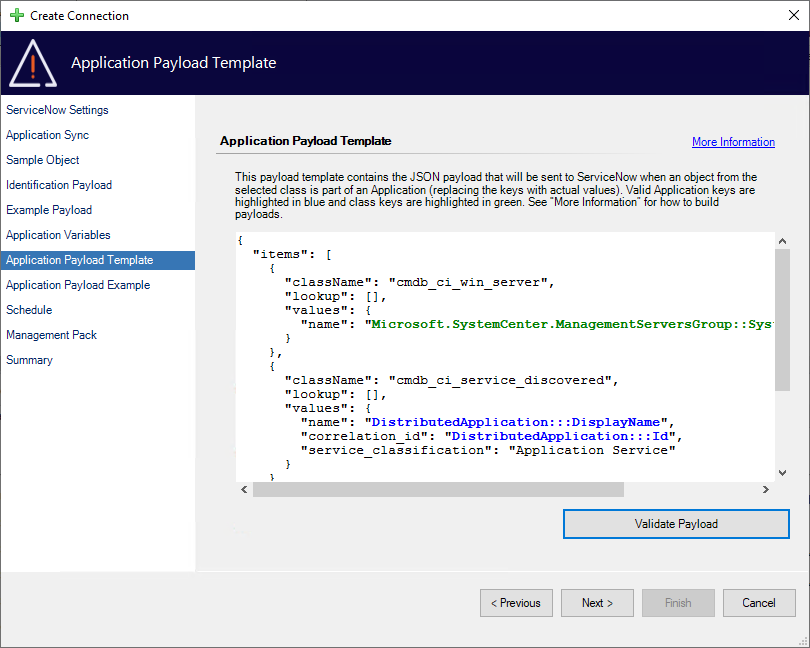
All other caveats of the sample object page apply here too!
Application payloads are very similar to object payloads and creation is considered an advanced topic too. To begin with, we would recommend using one of the example payloads. Enterprise Applications and Distributed Applications are very similar and you can usually just rename the key to get a payload targeted at one type to work for the other type. When ready, you can read more about creating your own payloads here.
Optionally: Application Payload Example
As the application payload template replaces the object template, the application payload example replaces the example payload.
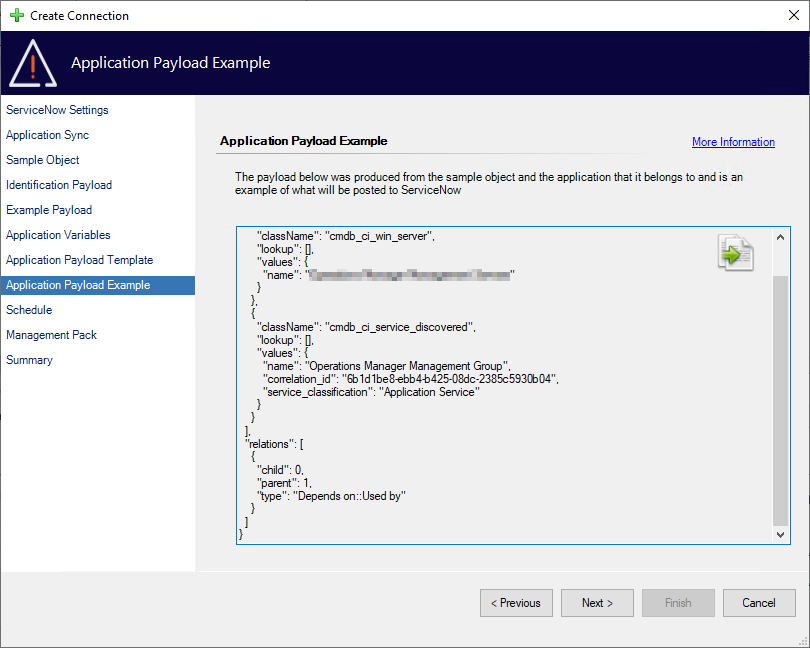
This screen works in exactly the same way as the 'Example Payload' page and all advice there also applies here.
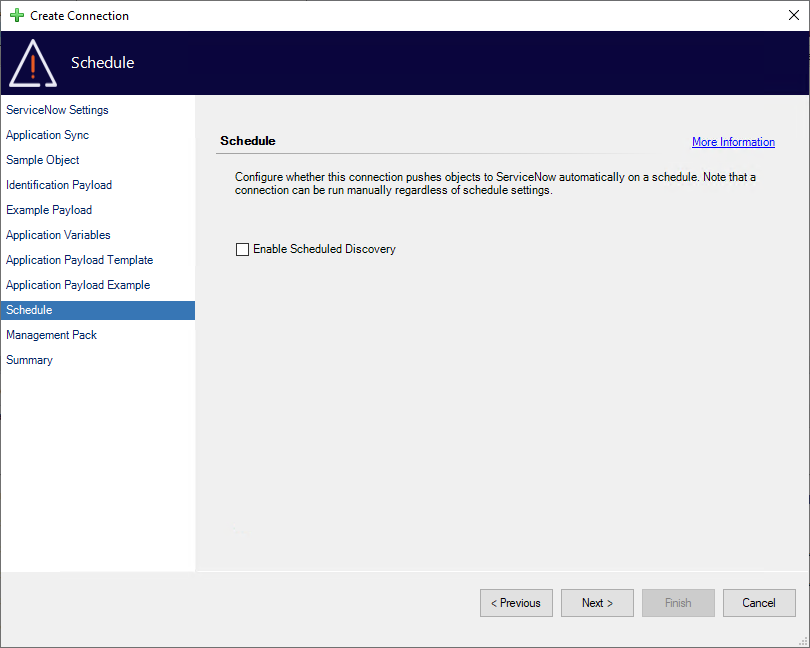
Schedule
The schedule page allows you to set your connection to run automatically as you see fit.
By default, the connection is set to not run automatically.
You can still use the connection by executing a manual run from the main UI once the wizard is complete.
When enabling the scheduled discovery, you then get the option to set how this will work.
Discovery Timeout (seconds)
The length of time the connection will run for before aborting
Defaults to 1800 seconds (30 minutes)
Scheduled Start Time
The (24h) time that the connection will start at
Runs off of the server running the tasks local timezone
Defaults to midnight
Scheduled Days
The days of the week on which this connection will run
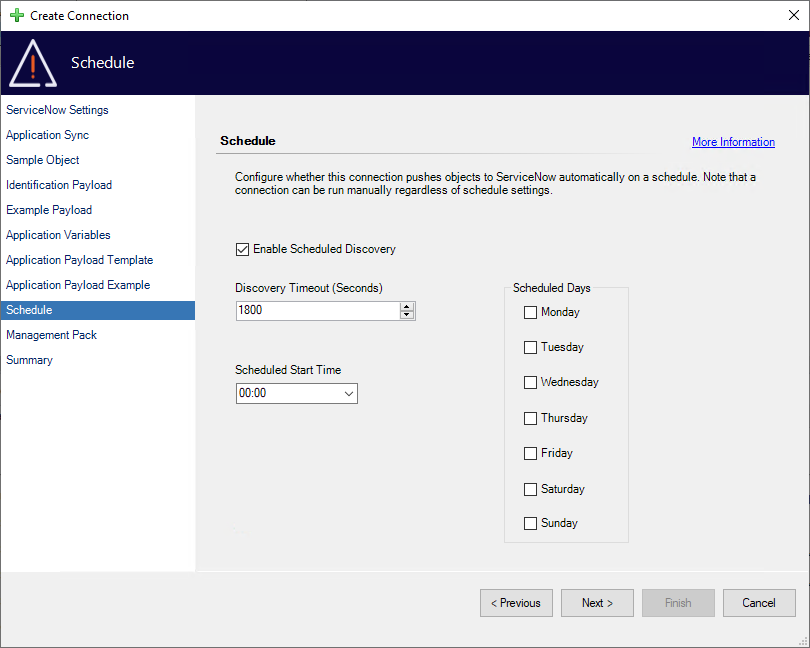
If you uncheck the 'Enable Scheduled Discovery' checkbox the schedule will be configured but not enabled. So you can choose to set up the schedule and enable it later when you are more comfortable with the configuration.
Depending on how many objects you have and the complexity of your environment you may need to increase the timeout. Similarly, if your server happens to be busy you may need to give it more time to complete processing.
Where possible we would suggest scheduling your object connections so that they do not overlap. If you have a Windows Server connection scheduled for 17:00 with a timeout of 1800, you might want to schedule your IIS connection for 18:00. Whilst you could schedule this for 17:30, this way you have a bit of wiggle room if you need to extend the timeout of your Windows Server connection later. Future me doesn’t often thank me for much, and they need some love sometimes too.
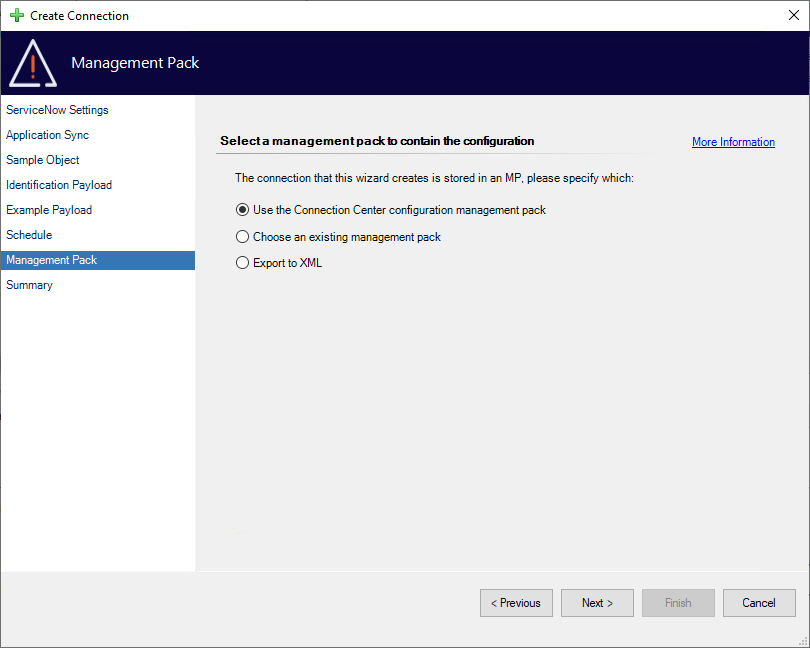
Management Pack
The Management Pack page allows you to select where your configuration will be stored.
By default, we store your configuration in a dedicated management pack. However, you are free to choose your own management pack (including creating a new one). You can also export the configuration to XML for use in change management processes or other reasons.
Summary
Finally, you will be brought to the summary screen where you can look over the configuration for a final time before finishing the wizard.
Should you wish to go back and change any part of your configuration, you can use the ‘Previous’ button or jump directly to the relevant page using the links on the left (though you may be required to re-validate any changes).
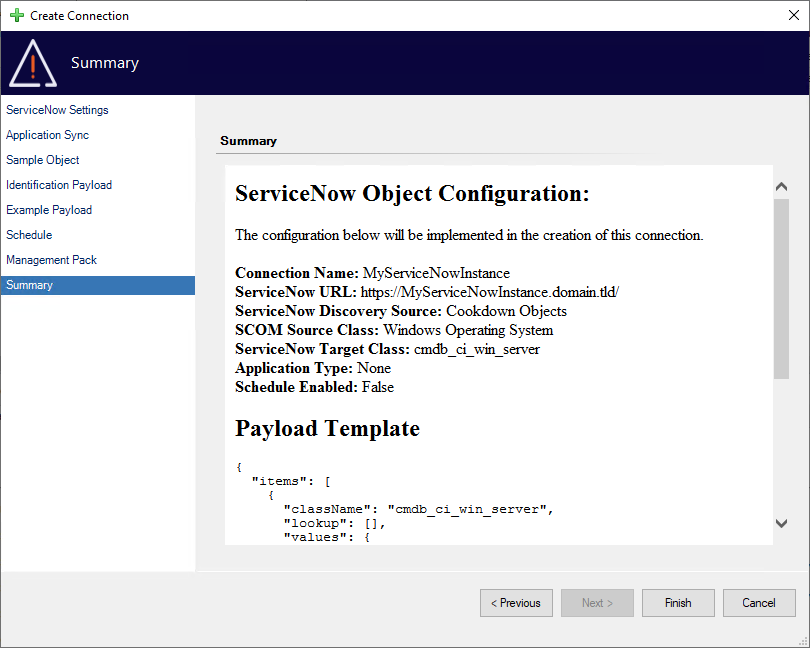
Check over your work in the summary and finish the wizard when ready.
After you finish and the next steps
When you press the 'Finish' button our wizard sets about putting your new configuration in place. If the connection is enabled by default, and not exported to XML, the connection will get discovered, load the configuration, and get itself ready. This uses standard SCOM discovery processes for may take a short while to come online. You can find further detail on what to expect from this back on the main object connection page here.
If this is a new connection you would normally wait for the configuration to apply and then use the ‘Populate CMDB' task to give it a test. This will provide you feedback via the task output and the 'View Events’ window that will help you refine the process further. You would then confirm the operations in the ServiceNow CMDB as well.
For further reading, we would recommend looking at how to develop your own payloads and configuring automatic CI assignment in creation rules (if also using notifications).