Set up Cherwell
Once you have installed and licensed our SCOM Management Pack, you can continue with setting up Cherwell.
Configuring a service account for SCOM to communicate with
Connection Center uses a service account to communicate with Cherwell using the OAuth2 protocol. If you would like to read more about how this works, Cherwell provides documentation on Obtaining API Client IDs and Securing the REST API.
(Optionally) Create a new security group
Open and login to the Cherwell Administrator program
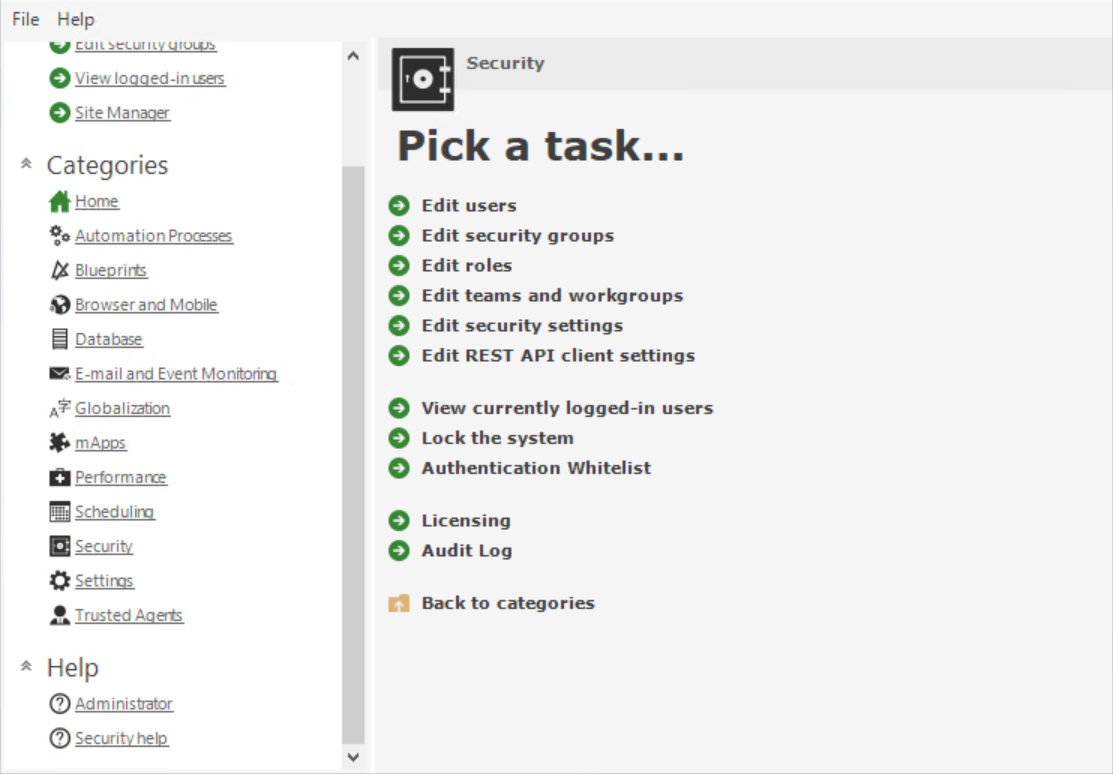
From the ‘Security' category select 'Edit Security Groups’
From the top left of the UI or the ‘File' menu select 'New’
From the Info tab, set a name and a description
From the Business Objects tab set:
Business Object Type | Field Name | Rights Required |
|---|---|---|
Incident | View, Add, Edit | |
Incident | Assigned Team, CallSource, Category, Customer ID, Description, Incident Type, Priority, Service, Short Description, Status, Subcategory | View, Edit |
Incident | Assigned To, Config Item Display Name, Incident ID, Rec ID | View |
Customer - Internal | View | |
Customer - Internal | Full Name | View |
Finally, save the Security Group.
Creating the new account
Open and login to the Cherwell Administrator program
From the ‘Security' category select 'Edit Users'
From the top left of the UI or the ‘File’ menu select 'New'
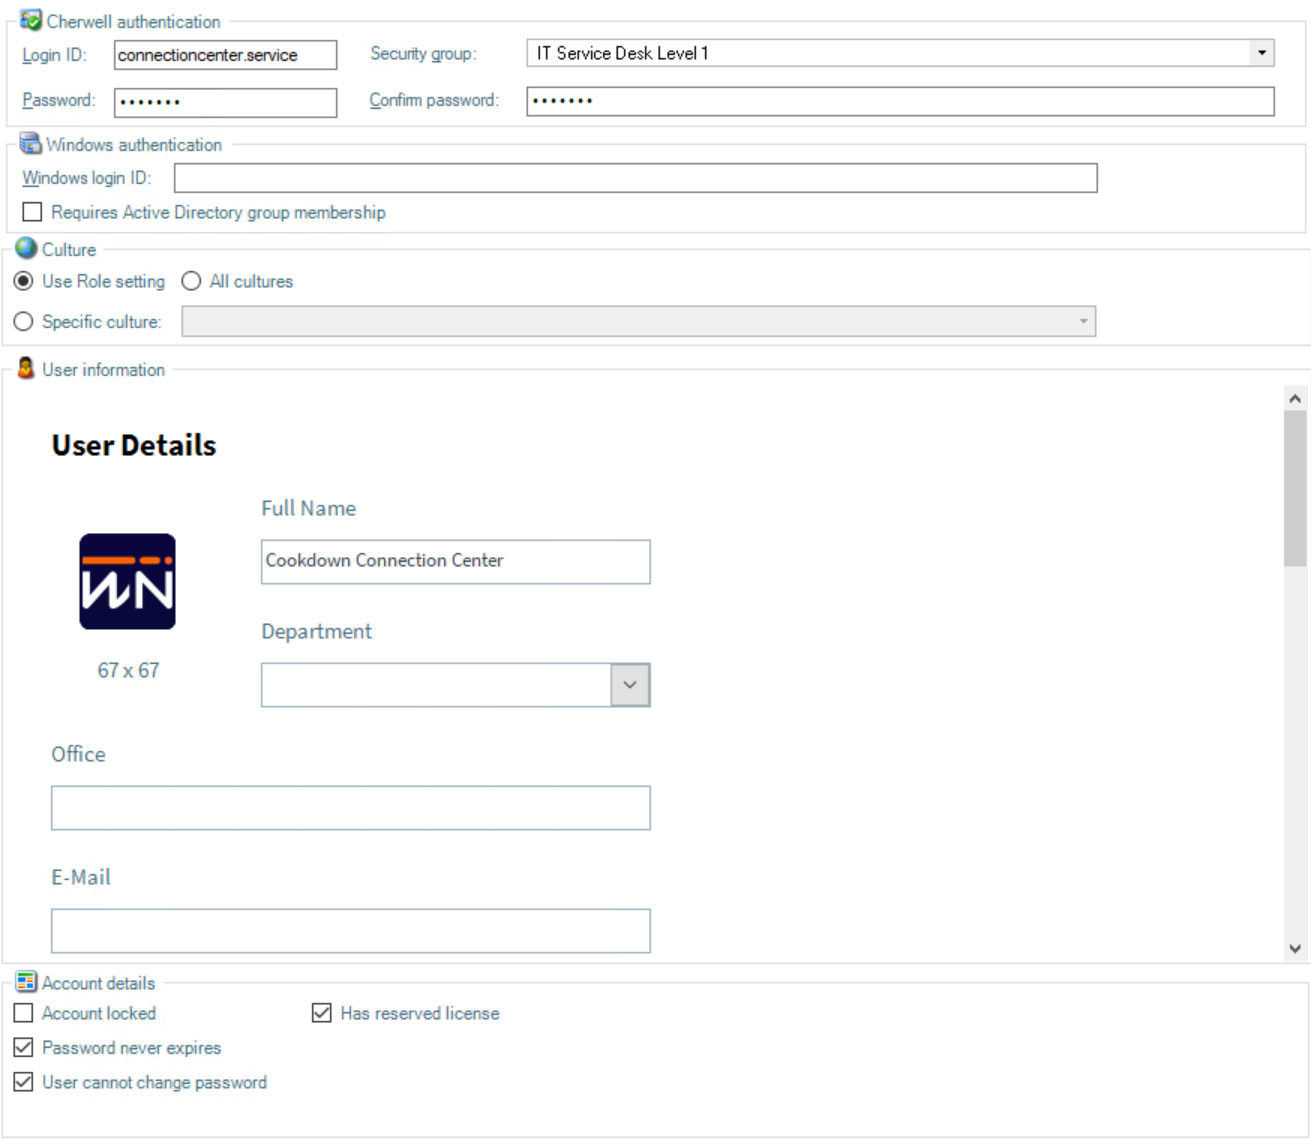
Enter a Login ID, Password, and an appropriate Security Group
(Optionally) Fill out the Full Name and set an Avatar
(Recommended) Set the ‘Password never expires, ‘User cannot change password', and 'Has reserved license’ flags.
If you are not the SCOM admin, provide the service account Login Id and Password to them.
Creating an API key
Open and login to the Cherwell Administrator program
From the ‘Security' category select 'Edit REST API client settings’
From the top left of the UI or the ‘File’ menu select 'New'
Give this an appropriate Name and a useful description.
Adjust the Token and Refresh Token Lifespan as required in your environment
Ensure that the 'API access is enabled' checkbox is selected
(Recommended) Ensure that the 'Allow anonymous access' checkbox is deselected
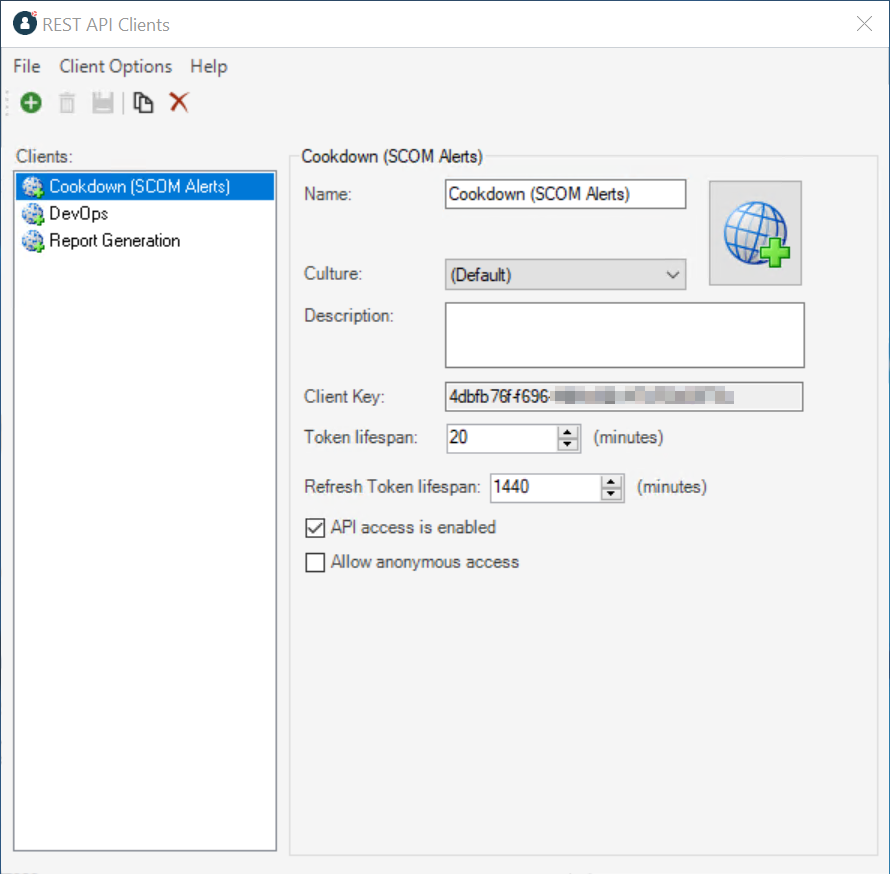
If you are not the SCOM admin, copy the ‘Client Key’ and provide this to them.
(Optionally) Create a new internal customer to raise Incidents against
Open and login to the Cherwell Service Management program or the Cherwell Web client
From the top menu select ‘New' followed by 'New Customer - Internal'
Fill out the 'First Name' and 'Last Name' fields to create a full name
(Optionally) Fill out the other fields
Save the record
If you are not the SCOM admin, pass them this customer's Full Name.
Further Reading and Next Steps
If you are not the SCOM administrator your work here is probably done. It might be worth reviewing the details required by SCOM here, just in case your SCOM admin has any questions about these.
If you are also the SCOM Admin, usually you would next move on to setting up Outbound Notification Connections with a focus on Outbound Notifications for Cherwell.