Set up Microsoft Teams
Once you have installed and licensed our SCOM Management Pack, you can continue with setting up Microsoft Teams. Connection Center communicates with Microsoft Teams via the use of (Teams) webhook connectors. The Microsoft documentation on the subject can be found here. At the time of writing, we are not aware of any programmatic way to create new incoming webhook connectors, however, the graph API is getting updated all the time.
Configuring a new (Teams) connector for SCOM to communicate with
From the Teams UI open the Team and Channel that you wish to send notifications to
Select the meatballs (•••) menu for the Channel
Select 'Connectors'
Search for ‘Incoming Webhook' and select 'Configure’
Provide a Name and optionally provide an image
Select Add
Copy the URL, if you are not the SCOM admin please pass this URL to them

Modify an existing (Teams) connector
From the Teams UI open the Team and Channel that you wish to send notifications to
Select the meatballs (•••) menu for the Channel
Select 'Connectors'
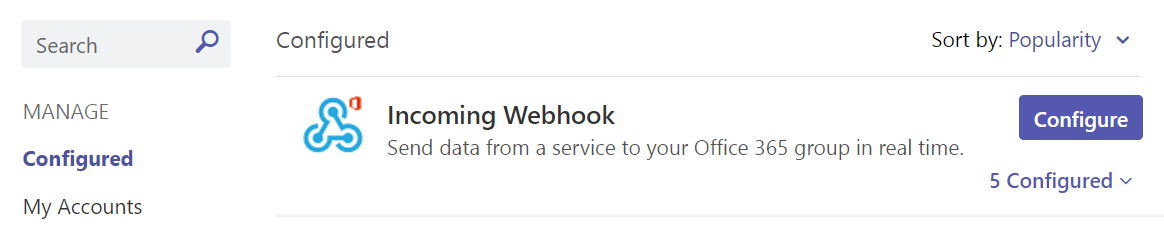
Select ‘Configured' from the 'MANAGE’ menu to the left
From ‘Incoming Webhook’ select the 'x Configured' dropdown
Find the existing connector you are interested in and select 'Manage'
Make any modifications required, copy the URL, and press 'Save'
If you are not the SCOM admin please pass this URL to them
Further Reading and Next Steps
If you are not the SCOM administrator your work here is probably done. You may be required to provide more webhooks for different teams/channels, so it may be worth liaising with your SCOM admin to identify and configure webhooks based on your requirements.
If you are also the SCOM administrator the next step would usually be to Configure Outbound Notifications with a particular focus on setting up Outbound Notifications for Microsoft Teams.