ServiceNow Setup
Once our ServiceNow app has been installed from the appstore you will be ready to continue with the setup process.
This is comprised of:
Creating a service account for SCOM to communicate with
For SCOM to be able to connect to ServiceNOW, a service account needs to be created.
Creating the new account
Navigate to User Administration > Users
Select ‘New’
Create a User ID and password as per your internal practices
Select ‘Submit’
Adding roles to the account
Find the account you just created in the list and re-open
Under 'Roles' select 'Edit'
Add the following roles and save
x_oklt_cookdown_sc.scom_sync_service
ITIL
We will discuss the specifics around roles and requirements later.
Copying the user sys_id
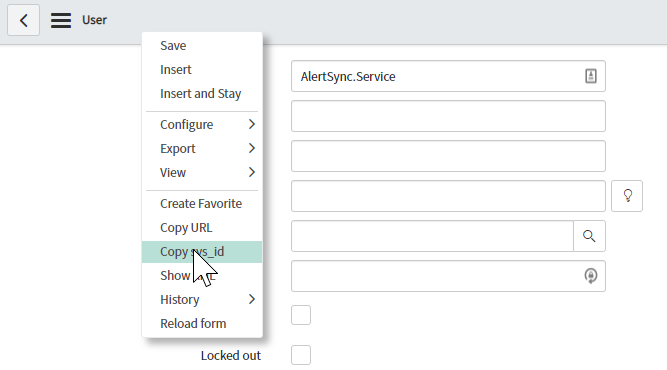
Whilst you are in the user menu you may also wish to copy the users sys_id as this will be required in the next step.
Find the account you just created and re-open
Right-click in the grey bar and select 'Copy sys_id'
Configuring the Cookdown Connector App
Setting the default caller
If you have not done so already copy the sys_id of the user account as per the previous step.
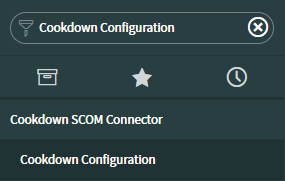
Navigate to Cookdown SCOM Connector > Cookdown Configuration
Paste the sys_id into the first box

Save
Configuring SCOM object lookup
If you are using our Discovery product you can configure how that will integrate here.
Navigate to Cookdown SCOM Connector > Cookdown Configuration
Input the CI field you plan to use for lookups in the second box
If the CI field you plan to use for lookups will contain additional data other than just the SCOM Object ID check the 'Allow contains for SCOM Object Id Search' box
Save
Note that use of the contains search is more load intensive on your ServiceNow Instance.
Whilst we provide this functionality, we recommend that you store the SCOM ID in a field by itself.

Configuring alert grooming in ServiceNow
If you would like to clean up alerts after a certain number of days:
Navigate to Cookdown SCOM Connector > Cookdown Configuration
In the fourth box set the number of days that you would like to keep alerts for

Save
While there is no charge from ServiceNow for storing more SCOM alerts in your instance, the performance of your instance may start to degrade if you keep hold of a large number of alerts. Work with your ServiceNow representative for expectations on what is reasonable as performance will vary based on your instance's configuration.
Optionally: Set up an initial creation rule for testing
To get you started we recommend that you set up a creation rule for all received alerts. This will both validate your setup later and show you how the core functionality works.
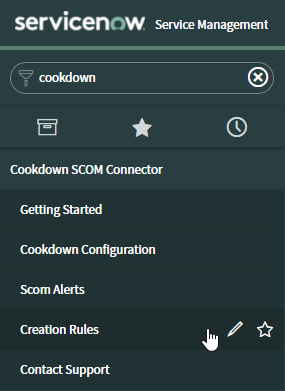
To do this go to the Cookdown SCOM Connector followed by Creation Rules:
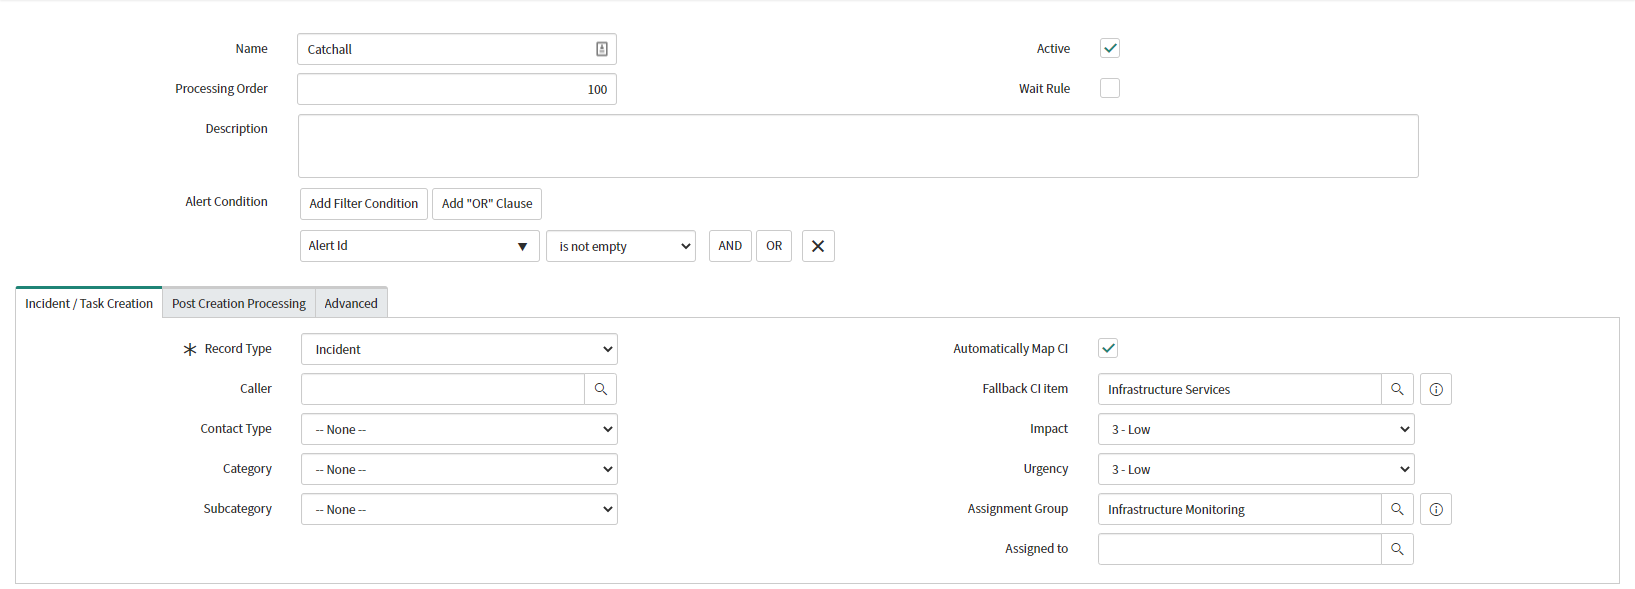
You should then set up a rule to create Incidents for all received alerts as shown below. Replace the Fallback CI Item and Assignment group/Assigned to as appropriate for your ServiceNow instance.
When you push your first alert to ServiceNow later on in the process you should now be able to verify that a basic Incident can be raised.
To understand Creation rules in more depth, please read this article.
Post-setup
You should now be ready to move on to configuration in SCOM.