Pushing mapped apps to ServiceNow
Once you have mapped your applications with Squared Up, they are saved into SCOM as an “Enterprise Application” (derived from SCOM's native Distributed Application classes). These Enterprise Applications (or EAs) now need to be pushed into ServiceNow. This is done with the Cookdown Discovery tool which maps SCOM object types to ServiceNow CI classes.
Cookdown Discovery works by creating “a Discovery”, a mapping between SCOM Object Class and ServiceNow CI Class. Discoveries are JSON payloads in the format that ServiceNow’s Identification and Reconciliation engine is expecting to receive, containing parameterized keys which are replaced by the Discovery engine.
For a guide explaining the basics of creating JSON payloads see this page.
The Discovery tool contains an Enterprise Application Sync feature that handles creating ServiceNow Services from Enterprise Applications that is licensed as part of the Cookdown Mapping solution. It works in a similar fashion to the regular Discovery product in that the Discovery JSON payload format is the same and it requires you map your Enterprise Applications (mapped apps) to a ServiceNow CI type (like a Business or Application Service), but only for the classes that appear directly in an EA.
Creating an EA Sync enabled Discovery
In the SCOM console, navigate to the Administration pane > ServiceNow Connector- Cookdown > Discovery and Click Create Discovery
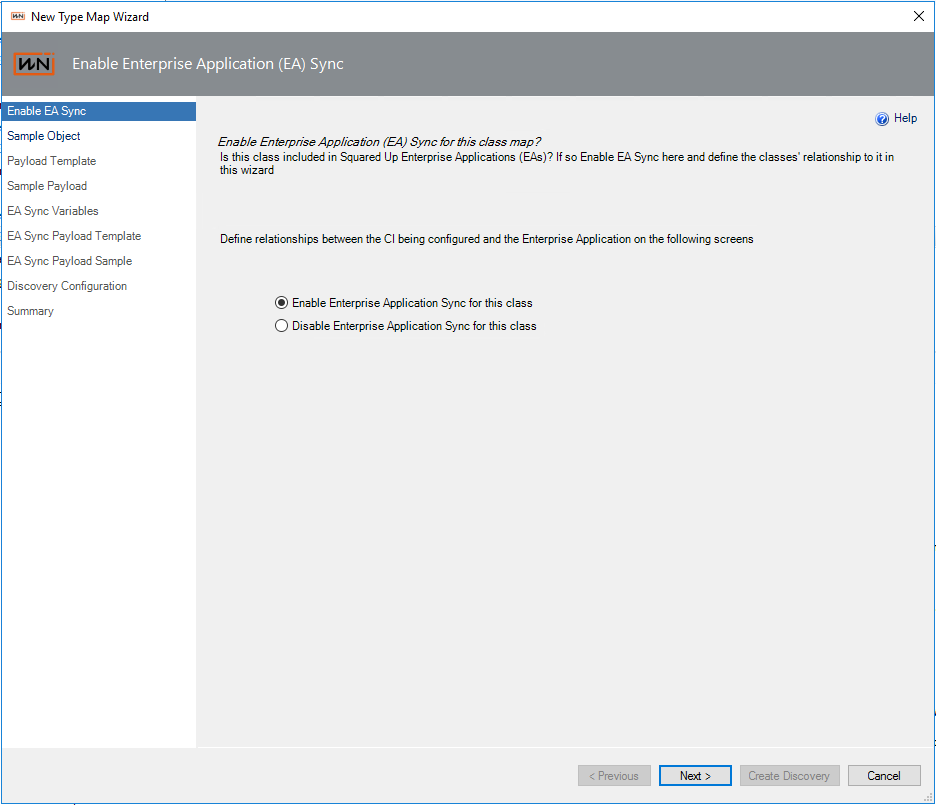
If you are licensed for Cookdown Mapping, you will see the below screen asking if you want to enable EA Sync for the class you are about to set up, Click Enable then the Next button
Select a Sample Object which is part of an existing EA and is shown in its map.
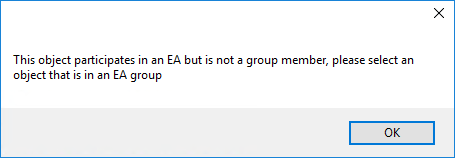
If the object you pick is part of an EA but isn't mentioned directly in an EAs map you will see this error:
If you select an object that isn't in an EA you will see this error:
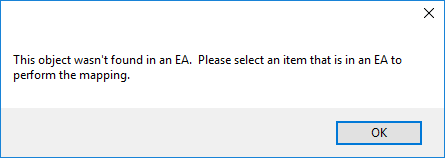
In either of these cases, you will be unable to complete the wizard so it is important to select an object that is visible in EAs map
Build your Discovery payload exactly as you would do for the standard discovery product - this payload will be used where the SCOM object the product is pushing to ServiceNow is not a member of an EA. Instructions for these steps are here, Using the Identification Simulator and the discovery payload library is here (which contains some payloads we built for you for common technologies). Completing these steps will take you to the below step and screen
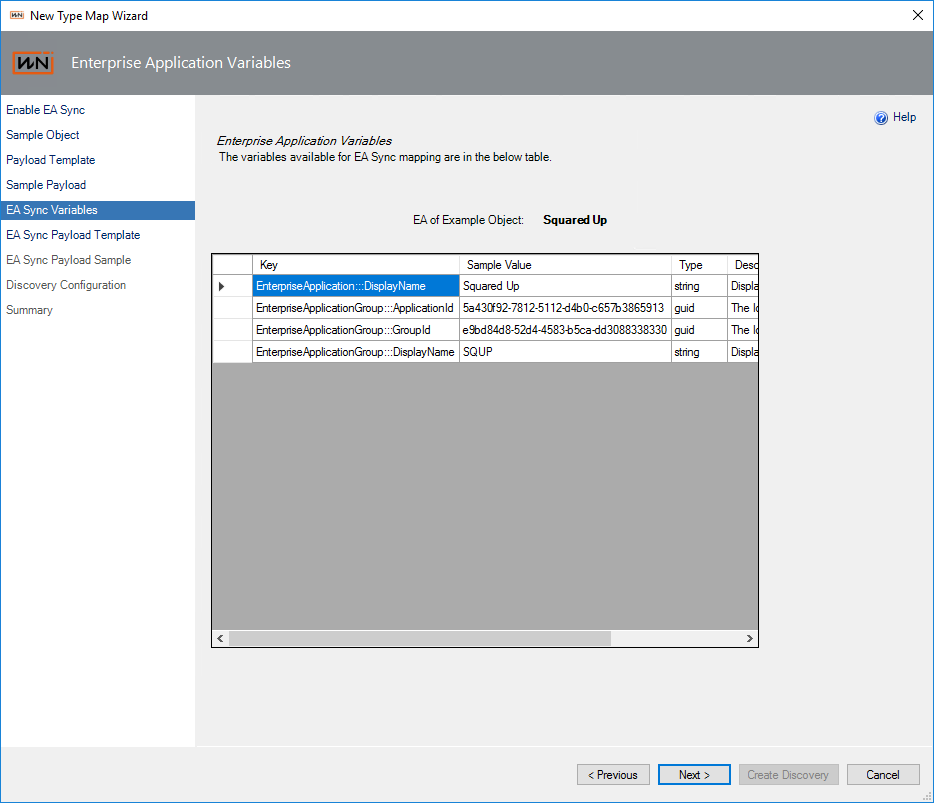
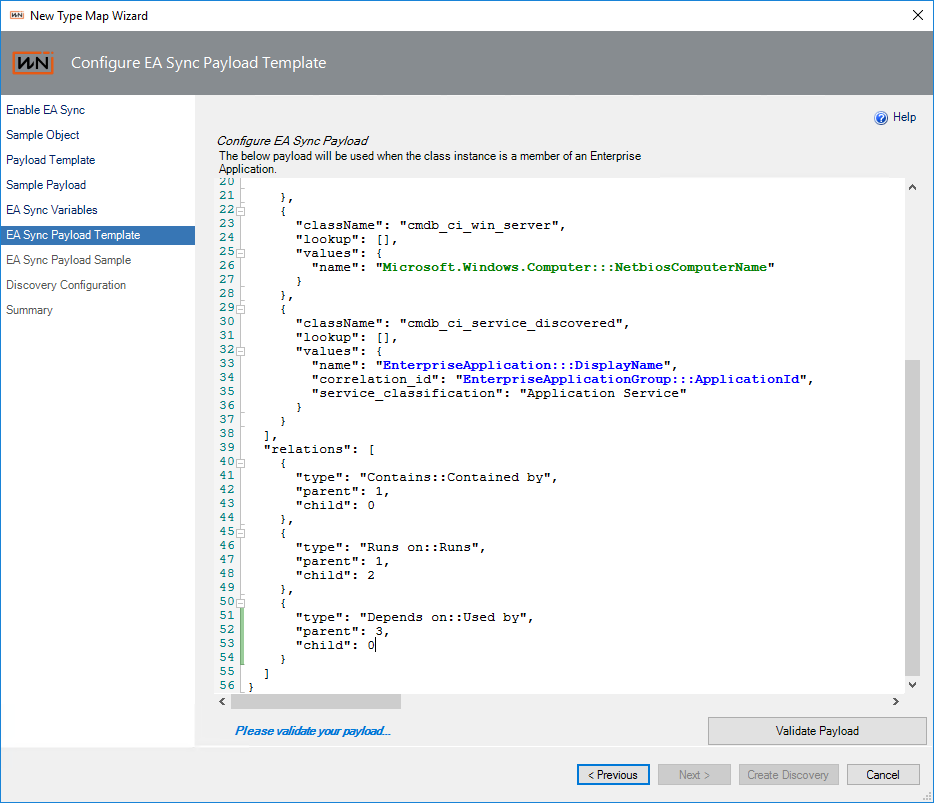
Use the keys on this screen to build a second payload for the case, when the object the product is pushing to ServiceNow is part of an EA. There is no separate Discovery for the EAs themselves, they are pushed up with the objects that belong to them. For more info on creating EA Sync payloads along with some examples, see this page:
Paste in your second payload that will be used when pushing objects that are members of EAs. Note the blue keys shown in the UI indicate the keys used are valid and are EA Sync keys (rather than standard Discovery ones). It is possible to mix standard and EA Sync keys. Click Validate Payload and Next once you are happy with your payload:
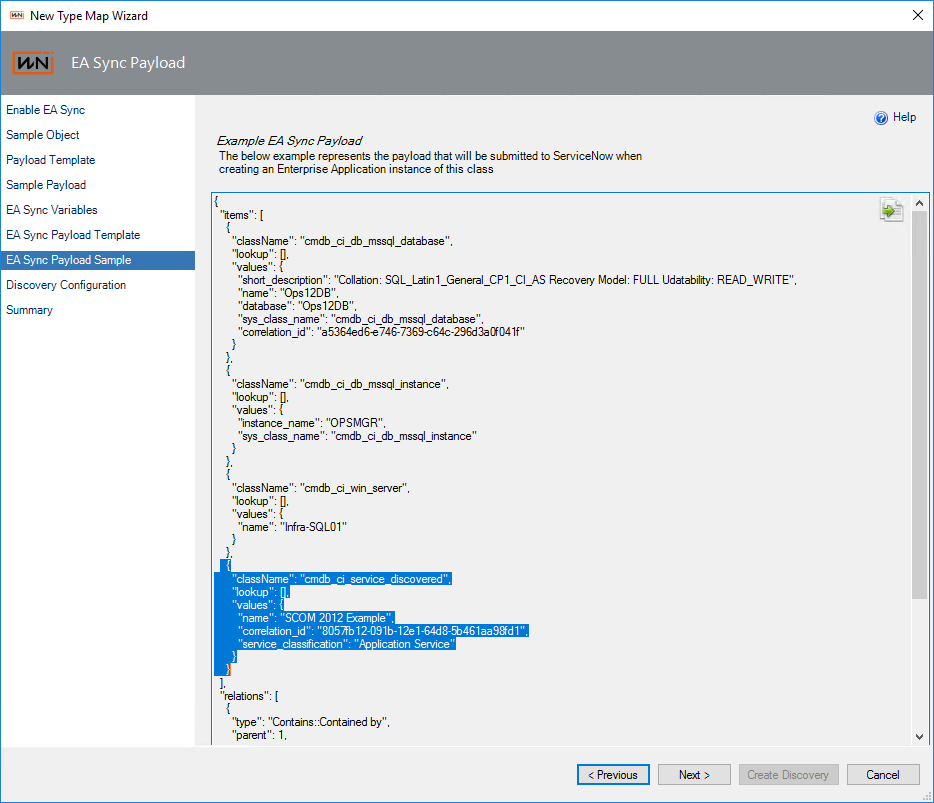
On the EA Sync Payload Sample screen, you are shown what the variables you have selected in your payload would be replaced as for the sample object you selected at the start of this process. Note the EA Sync classes in this example:
Click Next, input Discovery Config (as per the standard Discovery products Create Discovery process)
Confirm your settings on the Summary screen and click Create Discovery
Configuring Identification and Reconciliation for Service creation
By default, ServiceNow doesn't ship with Identification rules/entries for any of the service classes (Business Service/Application Services) so they must be added for our product to create them.
In newer versions of ServiceNow 'Business Service' has been renamed 'Service' and in some instances already has a similar (but not identical) identification rule.
The below documentation is a recommendation from us only, it is up to you how you setup your ServiceNow instance and before acting on the below recommendation you will want to check how existing discovery tools interact with Services in case you create rules that prevent their operation.
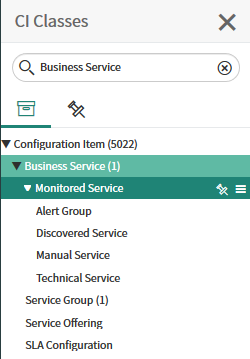
In ServiceNow’s CI Class Manager tool you will notice that all service classes are parented by Business Service so if you are planning to create Services for multiple CI Classes, the best place to add an Identification Rule + entries is in the Business Service class.
To do this, follow the below instructions in your ServiceNow instance:
Navigate to “CI Class Manager”, click Open Hierarchy, search for Business Service and then click Identification Rule:
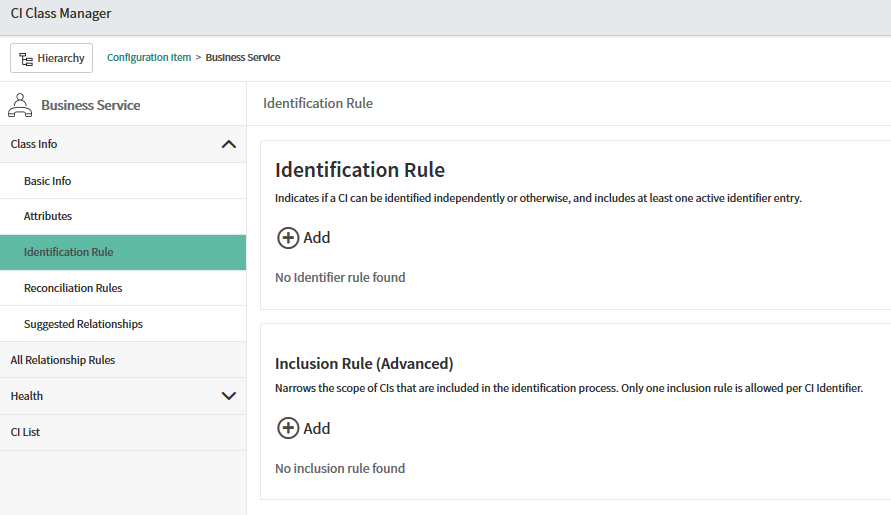
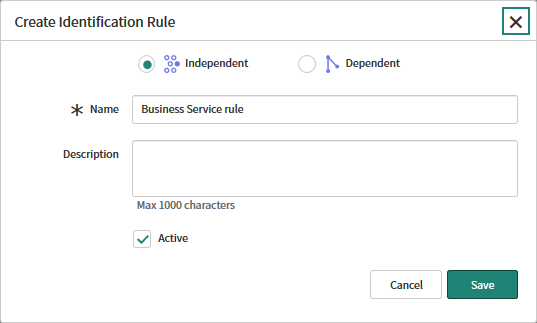
Click Add under Identification Rule, enter a sensible name and description, make the rule active and make sure the rule is Independent (as you don't want Business Services to have to depend on any other CI class) then hit Save:
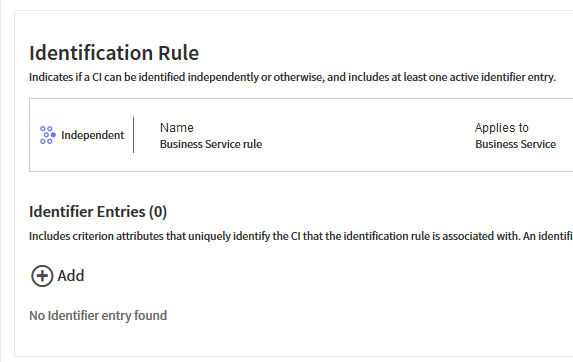
Now click Add under Identifier Entries:
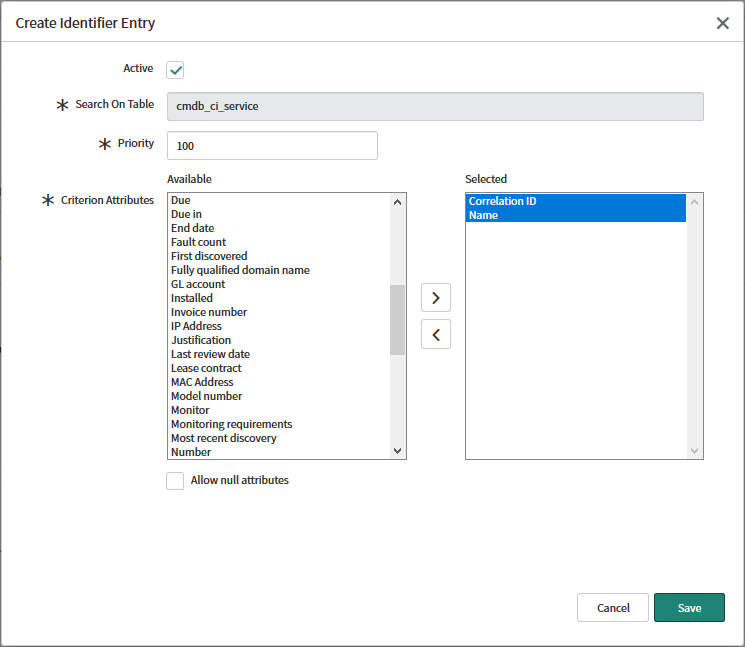
Select “Use attributes from the main table “Business Service” and click Next
Select Criterion Attributes “Name” and “Correlation ID” (or whichever field you have chosen to store the SCOM object of each CI in) and click Save.
ServiceNow’s identification and reconciliation engine will now accept incoming CIs from SCOM (or any other discovery source) which contain name and correlation id.